
Canvas Print Size Guide 2026: Pick the Right Fit
· 10 min read
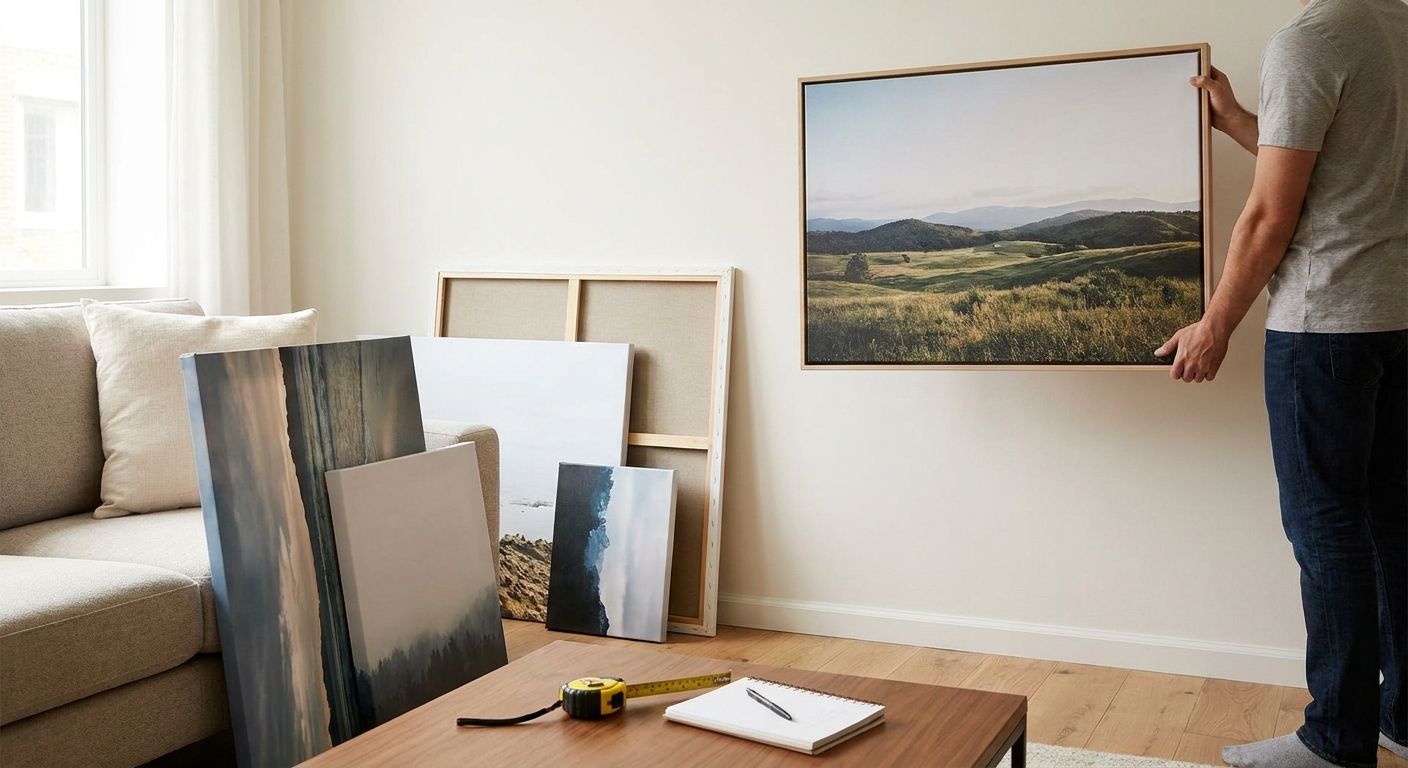
Pick the wrong canvas size and your favourite photo either disappears on a big wall or overwhelms a small one — this guide walks you through measuring, matching print size to viewing distance, and choosing dimensions that actually suit the room, so your canvas print looks intentional rather than accidental.
TL;DR
- Measure the wall space first, then work backwards to canvas size — not the other way round.
- A 60x40cm canvas suits a sofa wall viewed from 2-3 metres; go smaller for hallways and desks.
- Portrait shots of people and pets crop tighter than landscapes — check the aspect ratio before you order.
- Gallery walls need 5-8cm gaps between frames; measure the full cluster, not one canvas.
- Pixa Prints canvas prints in 2026 come in standard sizes from 20x20cm up to 100x70cm, so most walls have an off-the-shelf fit.
Why this matters
A canvas print is a permanent object on your wall, not a photo you can resize with two fingers on a screen. Order it too small for a stairwell and it reads as an afterthought. Order it too big for a narrow hallway and it crowds the space and cuts off at the edges when you frame the composition.
Most people choosing a canvas print size guide skip straight to picking a photo and guess the size at checkout. That's backwards. The wall dictates the size, the size dictates which photos work, and only then do you upload. Get that order right and the print looks like it was designed for the room — because it was.
What you'll need
- A tape measure (metal, not fabric — it stays rigid against the wall)
- Painter's tape or masking tape to mock up the size before you commit
- The photo you want to print, ideally at full resolution from your phone or camera
- A rough idea of viewing distance — how far away you'll usually stand or sit from the wall
- 10-15 minutes, most of it spent taping up a mock-up rather than measuring
The steps
1. Measure the actual wall space, not the whole wall
Measure the specific stretch of wall the canvas will occupy, not the room's total wall length. A canvas above a sofa should run roughly two-thirds the width of the sofa, so measure the sofa, not the wall behind it.
Write down width and height in centimetres. If you're filling an alcove or the space above a radiator, note the tightest dimension — that's your hard limit. Skipping this step is the single most common reason a canvas print looks wrong once it's hung: people size to the photo instead of the space.
2. Work out your viewing distance
Stand where you'll normally see the canvas from — the sofa, the bottom of the stairs, your desk chair — and measure that distance to the wall. As a rough rule, the canvas's diagonal measurement should be roughly a third to a half of the viewing distance in centimetres.
At 2.5 metres viewing distance, a 60x40cm canvas (diagonal around 72cm) sits comfortably in that range. Push past a 90x60cm canvas at that same distance and the print starts to feel oversized for a casual glance-and-walk-past space like a hallway.
Common mistake: choosing a size that looks right on screen. A photo that fills your laptop looks tiny blown up to 100x70cm on a wall three metres away — screen scale and wall scale are not the same thing.
3. Match size to the standard sizing tiers
Most canvas printers, including Pixa Prints, work off a set of standard sizes rather than infinite custom dimensions, because standard sizes keep production consistent and delivery fast. Typical tiers run from around 20x20cm up to 100x70cm in 2026, covering everything from a single frame on a desk to a statement piece above a fireplace.
- 20x20cm to 30x20cm — desks, shelves, small landings
- 40x30cm to 50x40cm — bedside walls, small bathroom or kitchen spots
- 60x40cm to 70x50cm — above a sofa, dining table, or bed
- 90x60cm to 100x70cm — stairwells, open-plan living rooms, statement walls
Picking from a tier rather than chasing an exact custom number also protects your image quality — standard sizes are calibrated to common photo aspect ratios, so you crop less.
4. Check the aspect ratio against your subject
A phone photo shot in the standard 4:3 or wide format won't fit a square canvas without cropping something out. Portrait shots of a person or a pet often lose feet, tails, or the top of a head when forced into a landscape frame.
Before you pick a size, look at your photo's shape: if it's a tall portrait of one subject, a portrait-oriented canvas like 40x30cm rotated vertically keeps the composition intact. Wide group shots or landscapes belong on landscape-format canvases like 70x50cm. If you're printing a pet photo, check out how pet portrait canvas prints usually get framed — tight cropping on ears and tails is the most common regret people report after the fact.
5. Mock it up on the wall with tape
Cut painter's tape to the exact dimensions of the size you're considering and stick it on the wall in position. Step back to your usual viewing distance and look at it for a full day before deciding — sizes that look fine under showroom lighting sometimes feel too large or too small once you've lived with the mock-up.
This single step catches more sizing mistakes than any calculator, because it accounts for your actual light, furniture, and sightlines rather than a generic formula.
6. Plan for gallery walls differently
If you're hanging multiple canvases together rather than one statement piece, measure the whole cluster as one unit, including 5-8cm gaps between each canvas. A common gallery wall might use one 40x30cm centre piece flanked by two 20x20cm squares — total footprint matters more than any single canvas's size.
This approach works particularly well for canvas photo prints for wedding photo displays, where couples often mix a large ceremony shot with smaller candid moments across one wall rather than picking a single oversized print.
7. Order once you're confident, not before
Once the tape mock-up has passed the day-long test, upload your photo at the highest resolution your phone or camera allows. Low-resolution images stretched to fill a 90x60cm canvas will look soft up close, even if they look sharp on a screen.
Ready to print your canvas?
Upload your photo and pick from standard sizes in minutes.
Troubleshooting
- The photo looks blurry in the preview. Your source image resolution is too low for the size you picked — drop down a size tier or re-upload the original file rather than a screenshot.
- The mock-up looks too small once it's taped up. Go up one size tier rather than two; a jump from 40x30cm to 60x40cm usually solves it without overwhelming the wall.
- The subject's head or feet get cut off in the crop preview. Switch orientation — portrait subjects need portrait-format canvases, not a landscape tier forced to fit.
- You can't decide between two sizes. Tape up both and live with each for a day; the one you stop noticing after 24 hours is usually the right fit, not the one that impressed you on day one.
- The canvas looks fine alone but odd next to existing wall art. Measure the existing pieces and match height lines across the wall rather than centring each canvas independently.
- Colours look different once printed compared to your screen. Screen brightness inflates colour intensity — this is normal and not a print fault, though checking your photo in daylight before uploading helps you judge more accurately.
Tools and resources
- Tape measure and painter's tape for the wall mock-up
- Your phone's camera roll at full resolution — see how to order photo prints straight from your phone if you're printing directly from a mobile gallery
- A spirit level for hanging once the canvas arrives
- Sample size markers (many printers, including Pixa Prints, show a size comparison against common furniture on the product page)
What to do next
Once you've locked in a size, the next decision is which photos actually suit that dimension. If you're building a gallery wall around a big life event, browse how canvas prints get arranged for weddings before you finalise your layout — the same logic on grouping and spacing carries over to any multi-photo wall.
FAQ
What is the best canvas print size for a living room wall?
For most living rooms, a 60x40cm to 90x60cm canvas works best above a sofa or fireplace, viewed from roughly 2-3 metres away. Smaller rooms or narrow walls suit the 40x30cm to 50x40cm range instead.
How do I measure a wall for a canvas print?
Measure the specific furniture or space the canvas will hang above, such as the sofa width, rather than the entire wall. Aim for the canvas to cover roughly two-thirds of that width for a balanced look.
Is a bigger canvas print always better?
No — a canvas that's too large for the viewing distance overwhelms the room, and one that's too small for a low-resolution photo looks blurry once printed. Match size to both the wall space and your photo's resolution.
What canvas size works for a single portrait photo?
A portrait-oriented canvas in the 40x30cm to 50x40cm range usually keeps a single-subject photo, like a pet or person, from cropping out feet or the top of the head. Rotate the standard tier to portrait orientation rather than forcing a landscape frame.
How much space should I leave between canvases on a gallery wall?
Leave 5-8cm between each canvas so the group reads as one cohesive display rather than scattered pieces. Measure the full cluster's width and height as a single unit before hanging.
Can I print a low-resolution phone photo on a large canvas?
Low-resolution images stretched onto sizes like 90x60cm or larger tend to look soft up close, even if they appear sharp on a phone screen. Stick to a smaller size tier, such as 40x30cm, for older or lower-resolution photos.
What's the standard canvas print size range in 2026?
Most UK canvas printers, including Pixa Prints, offer standard tiers from around 20x20cm up to 100x70cm in 2026. Choosing from these tiers rather than a custom dimension usually keeps cropping and image quality more predictable.
Should I match canvas size to furniture or to the photo?
Match size to the furniture and wall space first, then choose a photo whose aspect ratio suits that size. Sizing to the photo first is the most common reason canvases end up too big or too small for the room.
One last thing
The tape mock-up step gets skipped more than any other, and it's the one that actually prevents returns. A size that looks perfect in a size-comparison graphic on a product page can still feel wrong once it's taped to your actual wall, under your actual lighting, next to your actual furniture — give it the full day before you commit.