
Print Panoramic Photos Without Cropping (2026 Guide)
· 10 min read
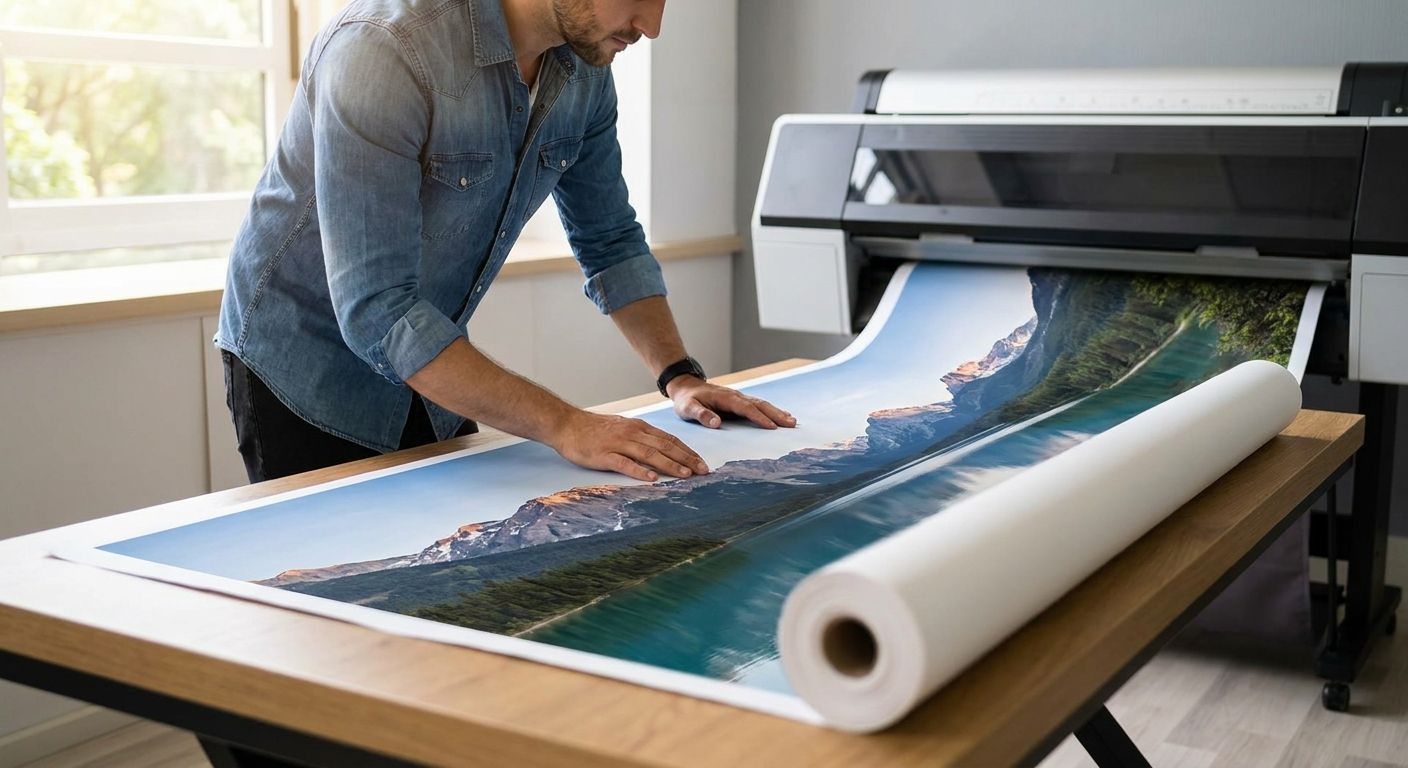
Panoramic photos get ruined at the printing stage more often than at the camera stage — the shot is fine, then a standard frame size chops off the edges you actually wanted. Here's how to print panoramic photos on canvas without losing a single sliver of that skyline, beach or group shot.
TL;DR
- Match your photo's exact aspect ratio to a custom canvas size before you upload — never force a panorama into a standard 8x10 or 12x12 frame.
- Phone panoramas need at least 150 DPI at final print size; a 3:1 ratio shot works best as a 60x20in or 40x13in canvas.
- Pixa Prints lets you set a custom width and height so the whole image prints, not just the cropped centre. Buy the custom-size route over a fixed template.
- Gallery wrap canvas hides 2-3cm of image on each wrapped edge — flat print keeps 100% of a tight panoramic composition visible.
Why this matters
A panoramic shot is wide for a reason — it's the whole valley, the full wedding party line-up, the entire skyline at sunset. Crop it into a square or a standard rectangle and you're printing a different photo than the one you took.
Most print services default to standard aspect ratios (4:3, 5:7, square) because that's what fits most orders. Panoramic photos sit anywhere from 2:1 to 4:1, and sometimes wider on phone sweep panoramas. Unless you tell the system to respect that ratio, it will auto-crop the sides to force a fit — and you won't always see it happen until the canvas arrives.
Getting this right at Pixa Prints takes about five extra minutes of setup. Skipping it costs you a reprint and a week's wait.
What you'll need
- The original photo file, not a screenshot or a resized copy — screenshots lose resolution fast
- The exact pixel dimensions of your image (check on your phone or computer before uploading)
- A rough idea of where the canvas will hang, so you know the maximum width you can work with
- 10-15 minutes to set a custom size in the online designer rather than picking a template
- A phone or computer with the panorama saved locally, not just in a cloud gallery you'd need to re-download
The steps
1. Check your photo's real aspect ratio first
Open the image properties on your phone or computer and note the exact width and height in pixels. A typical iPhone sweep panorama comes out around 9000 x 2000 pixels — that's roughly a 4.5:1 ratio, much wider than a standard 3:2 photo.
Don't guess this. If you order a 30x20in canvas for an image shot at 4.5:1, the software will crop nearly 30% of the width to make it fit, and you'll see empty background or cut-off subjects at the edges.
2. Confirm resolution before you commit to a size
Divide your image's pixel width by the intended print width in inches. Anything above 150 DPI (dots per inch) prints crisp on canvas; below 100 DPI, expect visible softness once it's on the wall.
A 9000-pixel-wide panorama prints sharp up to 60 inches wide (150 DPI) and still holds up reasonably at 90 inches (100 DPI). A 3000-pixel-wide phone shot tops out cleanly around 20 inches — push it wider than that and softness creeps in.
3. Pick a canvas size that matches the ratio, not the other way round
This is the step most people skip, and it's the one that actually prevents cropping. Instead of choosing a fixed template size like 16x20in, work backwards from your image's ratio: a 3:1 photo wants a 60x20in or 45x15in canvas, a 4:1 photo suits a 60x15in.
Most online designers, including the one at Pixa Prints, let you enter a custom width and height rather than forcing a preset. Use that option every time you're printing panoramic photos — it's the single change that stops the auto-crop.
4. Lock the aspect ratio in the designer, don't drag-crop manually
Once your image is uploaded, look for an aspect ratio lock or a "fit to canvas" toggle before you touch the crop handles. Locking the ratio to match your source image means the designer scales the whole photo into the frame instead of slicing bits off to hit a mismatched shape.
If you manually drag the crop box because it "looks close enough," you'll almost always nudge off a few pixels from the top or side without noticing until the canvas is printed.
Set up your panoramic canvas now
Upload your photo and choose a custom canvas size that matches its ratio.
5. Choose flat print over gallery wrap for tight compositions
Gallery wrap canvas folds 2-3cm of image around each side of the wooden frame, which is great for landscapes with forgiving edges but murder on a panorama where the composition runs edge to edge — a person's arm, the tip of a mountain, or text on a sign can vanish around the side.
Flat print (also called a canvas print without wrap) keeps the entire image visible on the front face. For any panorama where the subject matter reaches the edges, flat print is the safer call.
6. Preview before you finalise the order
Use the on-screen preview to check all four edges of the canvas against your original file. Zoom into corners specifically — that's where cropping errors hide, especially on wide panoramas where the eye naturally drifts to the centre.
If the preview shows any part of your subject touching the frame edge, size down slightly or widen the canvas rather than accepting a tight crop.
7. Order and check delivery timing around the size
If you're ordering a large custom panoramic canvas ahead of a specific date, factor a few extra days versus a standard-size order. Larger, non-template sizes sometimes take longer to process than a stock 12x16in canvas.
Troubleshooting
- The preview shows my photo stretched, not cropped. You've likely got the aspect ratio unlocked. Go back and match the canvas dimensions exactly to your image's pixel ratio rather than a rounded preset.
- My phone panorama looks blurry in the preview. The image resolution is too low for the size you've chosen. Check the DPI math from step 2 and drop to a smaller canvas or re-shoot at higher resolution.
- There's a visible seam or ghosting line in my stitched panorama. This is a capture issue, not a printing one — it happened when the photo was taken, usually from camera movement mid-sweep. Re-shoot holding the phone level and moving at a steady pace.
- The system won't let me enter a custom size. Some templates lock to fixed ratios. Look for a "custom size" or "personalise dimensions" option in the designer, usually a separate path from the quick-order templates.
- Colours look washed out compared to my screen. Screens display in RGB and print in CMYK, so some vibrancy shift is normal. Boost saturation slightly before uploading if the shot leans flat or grey.
- The canvas arrived and part of the shot is missing on the side. This means gallery wrap ate the edge. For your next order, switch to flat print or add 3-4cm of buffer space around the subject when you crop.
Tools and resources
- How to choose the right canvas print size for your wall — useful before you commit to a custom panoramic width
- How to order photo prints straight from your phone — handy if your panorama lives only on your phone
- A pixel dimension checker (built into your phone's photo app under file info)
- A tape measure for the wall space, so your custom canvas width actually fits
What to do next
Once your panoramic canvas is ordered, think about where it's actually going to hang — a wide format needs a different wall treatment than a square or portrait canvas. The guide on best canvas photo prints for large living room walls covers sizing for exactly this kind of wide, statement piece.
FAQ
What's the best aspect ratio for a panoramic canvas print?
Most panoramic shots fall between 2:1 and 4:1, and matching your canvas size to that exact ratio is what stops cropping. Check your photo's pixel dimensions first, then choose a custom canvas width and height rather than a fixed template.
Can I print a panoramic photo without cropping it?
Yes, by ordering a custom canvas size that matches your image's exact aspect ratio instead of a standard preset. Lock the aspect ratio in the online designer before adjusting anything else.
What size canvas fits a phone panorama photo?
A typical iPhone sweep panorama at roughly 4.5:1 fits a 60x15in or 45x12in canvas without cropping. Check your exact pixel width first since panorama ratios vary by phone and shooting technique.
How much resolution do I need for a large panoramic print?
Aim for at least 150 DPI at your final print width for a sharp result on canvas. A 9000-pixel-wide panorama comfortably supports a 60-inch-wide print at that resolution.
Is a panoramic photo better as one canvas or a split multi-panel print?
A single flat canvas keeps the full composition intact with no visual break, which matters most for panoramas with continuous detail like a skyline. Split panels work better for looser landscape shots where a gap between panels won't disrupt the subject.
Can I print an Instagram panorama on canvas?
Only if you upload the original camera roll file, not the Instagram-compressed version, since Instagram downsizes images well below print resolution. Use the original file saved on your phone or computer instead.
Does Pixa Prints offer custom panoramic sizes?
Yes, the online designer allows custom width and height entry so the canvas can match a panorama's exact ratio rather than forcing it into a standard template. Use the custom size option specifically for wide-format shots.
How do I stop panoramic prints from stretching or cropping?
Lock the aspect ratio to match your source image before resizing anything in the designer, and choose flat print instead of gallery wrap if your subject reaches the edges. Stretching happens when the ratio is unlocked; cropping happens when it's mismatched to the canvas size.
One last thing
The edge you're most likely to lose isn't the left or right side of a panorama — it's the top and bottom. Wide shots naturally have less vertical content, so a small vertical crop feels invisible in the designer preview but removes a strip of sky or foreground that changes the whole composition on a 60-inch canvas. Zoom into the top and bottom edges of your preview specifically, not just the sides, before you place a 2026 order.