
How to take better portraits with a phone
· 12 min read
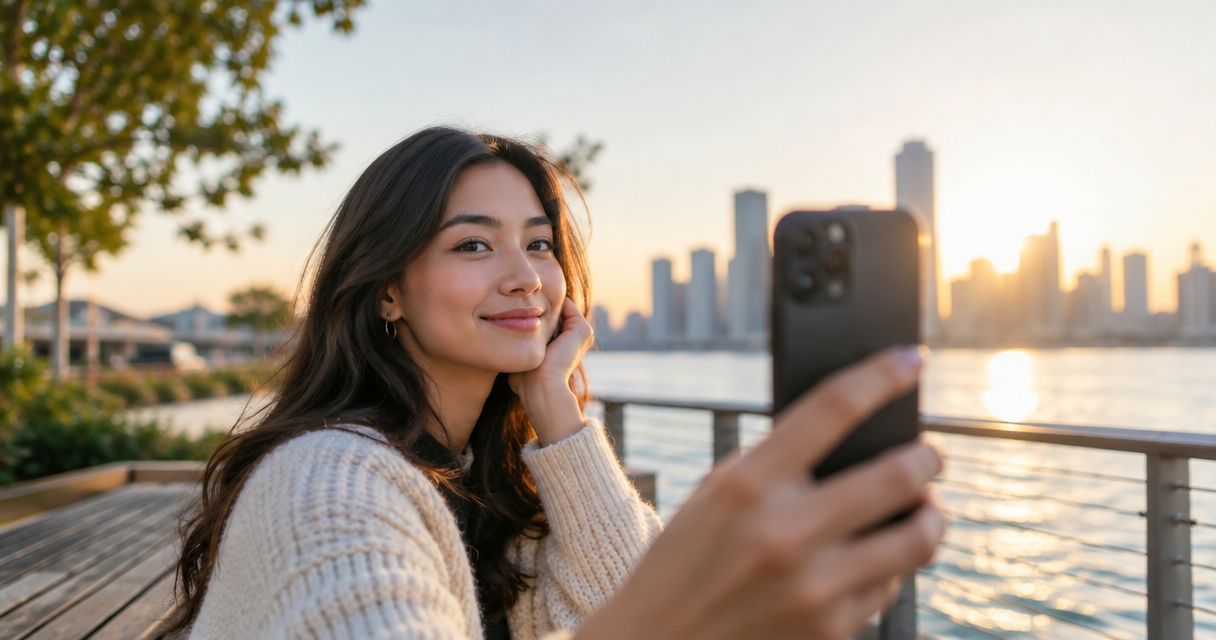
To take better portraits with a phone, use soft light, keep the camera around eye level, simplify the background and focus on the eyes before taking the picture. Give your subject something comfortable to do, then check the face for sharpness rather than judging the whole image at thumbnail size. Portrait mode can soften a distracting background, but it cannot correct unflattering light or a blurred face.
TL;DR
- How to take better portraits with a phone: prioritise soft light, sharp eyes and a relaxed expression.
- Window light is best for straightforward indoor portraits; avoid mixing it with strongly coloured room lighting.
- Portrait mode suits simple outlines; ordinary photo mode avoids artificial blur errors around hair and glasses.
- Pixa Prints turns personal photographs into photo gifts; choose a sharp original before designing yours.
Why this matters
A portrait is about the person, not the camera settings. A distracting background or awkward expression pulls attention away from someone you love, even when the photograph contains plenty of detail.
For your 2026 family photographs, start with changes you can see immediately: turn towards better light, move away from clutter and let shoulders relax. The same approach applies when taking professional-looking photos at home with a phone: arrange the scene before reaching for an editing tool.
How to take better portraits with a phone
Get the light and camera position right before asking for a smile. Follow these steps in order, then review the result while your subject is still in place.
1. Clean the lens
Wipe the camera lens gently with a clean microfibre cloth. Fingerprints scatter light and can leave a portrait looking hazy, particularly when a window or lamp is nearby.
Check the lens you are actually using, including the front camera for a self-portrait. Avoid rubbing it with anything gritty or abrasive.
2. Find light
Indoors, place your subject near a window and turn their face towards it. Look for a gentle transition between the brighter and darker sides of the face, rather than a hard stripe of sunlight across the eyes.
Outdoors, try open shade with a clear view towards the sky. Avoid patchy sunlight beneath leaves unless the pattern is part of the picture you want.
Switch off a nearby coloured lamp if it gives one side of the face a different tint. Moving the person is often simpler than trying to correct mixed lighting afterwards.
3. Simplify the background
Look behind the head before looking at the smile. Move sideways to remove a lamp post, door frame or bright object that appears to grow out of your subject.
Give the person some space from the background where the setting allows. A plain wall, distant greenery or an uncluttered corner helps the face remain the main subject without depending on artificial blur.
4. Choose your distance
Avoid putting the phone extremely close to the face. Close camera distances exaggerate the difference between nearer features, such as the nose, and those farther away, such as the ears.
Start with the main camera at 1× magnification and leave enough room to frame comfortably. An ultrawide setting such as 0.5× magnification includes more surroundings, but moving close with it makes facial proportions less natural.
Those labels describe camera views, not a universal quality ranking. Keep faces away from the edges of a wide frame, particularly in group photographs.
5. Set focus
Tap the eye area on the screen where your camera app allows touch focusing. Check that the face, rather than a nearby object, looks sharp.
If your app offers an exposure adjustment, use it to preserve detail in bright cheeks and foreheads. Do not brighten the whole scene until pale areas become featureless white patches.
6. Relax the pose
Ask your subject to loosen their shoulders and turn slightly rather than standing rigidly square to the camera. Keep your phone around their eye level as a starting point, then adjust the angle deliberately.
Give a simple action: look towards the window, straighten a sleeve or turn back towards you. Conversation often produces a more recognisable expression than repeated requests to smile.
7. Check details
Take a few photographs, then enlarge the face on screen. Check the eyes, motion blur, glasses reflections and the outline around hair if you used portrait mode.
Keep the version with the strongest combination of expression and sharpness. A slightly different pose is easier to accept than a photograph in which the eyes never came into focus.
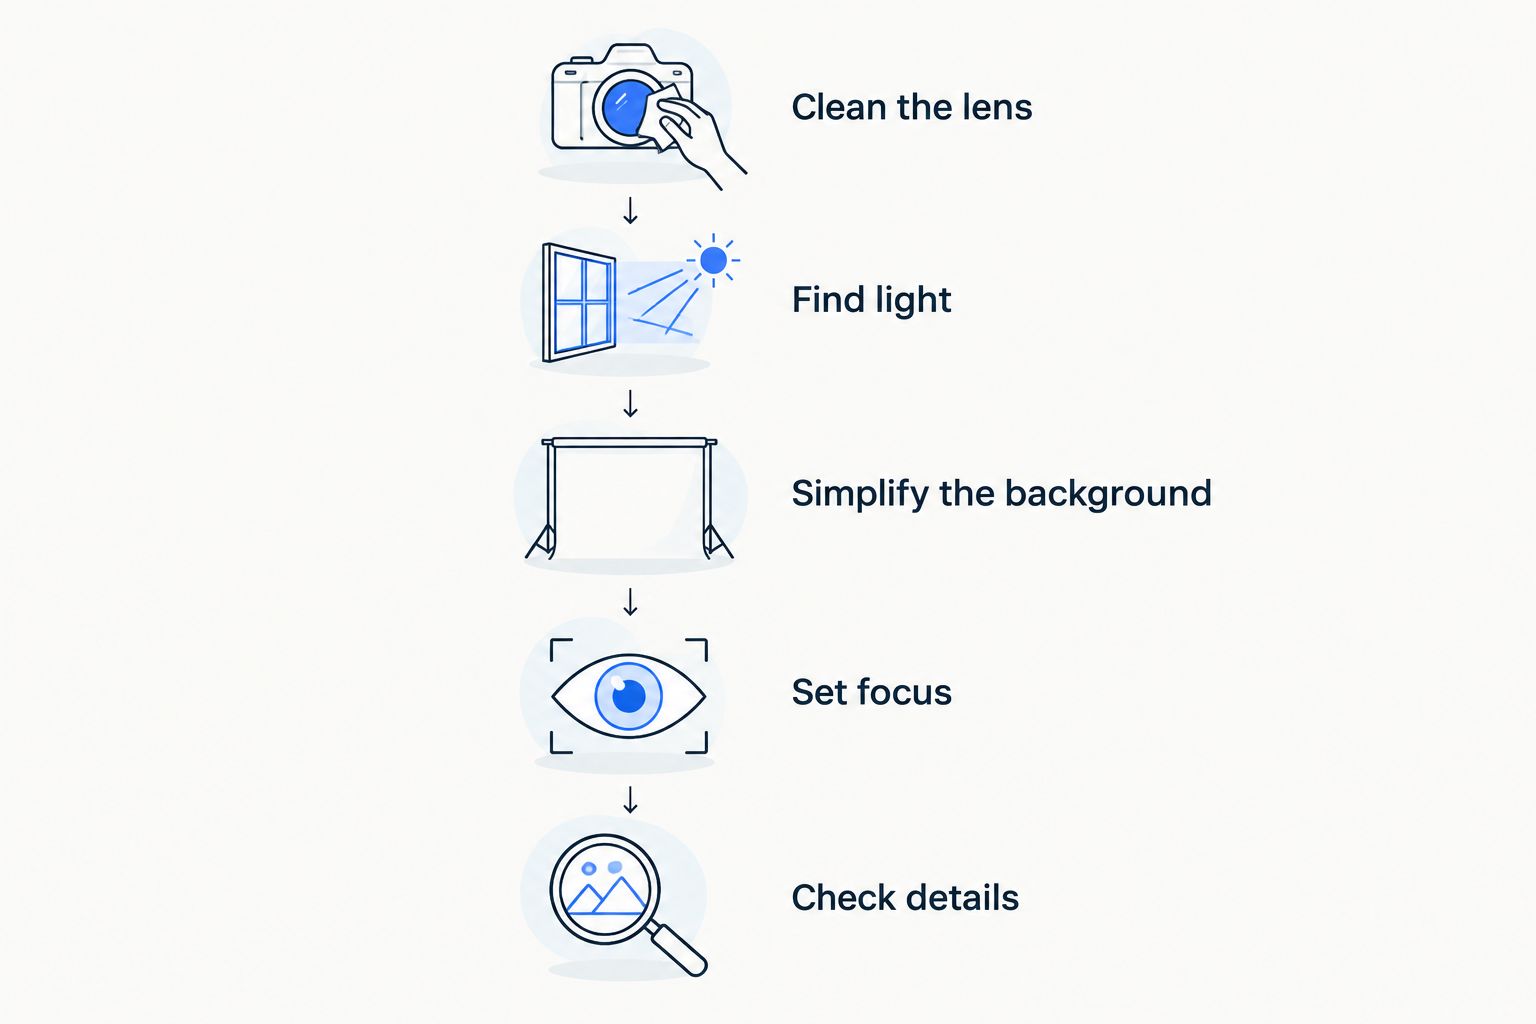
Arrange the light and background before checking focus and the finished photograph.
These steps give you a repeatable starting point. Keep the setup simple enough that you can pay attention to the person rather than constantly changing controls.
Should you use portrait mode or ordinary photo mode?
Use ordinary photo mode when clean edges matter more than background blur. In 2026, the right choice still depends on the scene and your phone's actual result, not the mode's name.
| Camera option | Best for | Advantage | Limitation |
|---|---|---|---|
| Ordinary photo mode | Groups, movement and complicated outlines | Avoids artificial background-blur cut-outs | A busy background remains visible |
| Portrait mode | A single person against a simple background | Can reduce background distractions | Can blur hair, glasses or parts of clothing incorrectly |
| Front-facing camera | Self-portraits you need to frame yourself | Lets you see the composition while posing | Image quality and controls depend on the phone |
For an important portrait, take an ordinary version as well as a portrait-mode version. Compare them at a larger viewing size, especially around ears, loose hair and transparent spectacle frames.
Do not increase simulated blur simply because the control is available. A believable outline matters more than a completely blurred background.
Why phone portrait quality varies
Different phones process pictures differently, but these visible factors help explain why the same person can look quite different between photographs:
- Light direction: light from above can deepen shadows beneath the eyes; light from nearer face level changes that pattern.
- Camera distance: moving very close exaggerates nearer features, regardless of how flattering the preview initially looks.
- Subject movement: a turning head or moving hand can blur even when the background looks sharp.
- Background detail: bright objects, strong lines and busy patterns compete with the face.
- Processing choices: smoothing, sharpening and artificial blur change the appearance of skin and edges.
When a 2026 portrait looks wrong, change one of these factors and compare the next photograph. Changing everything together makes it harder to recognise what helped.
How do I take better phone portraits indoors?
Window light is the simplest starting point for indoor phone portraits. Turn your subject towards it, clear the background and check that the eyes are not hidden in shadow.
If the window creates harsh patches of sunlight, move out of the direct beam or soften it with a sheer curtain. Keep the phone steady and ask for a brief pause while you take the picture.
Avoid relying on heavy brightening afterwards. Increasing brightness does not restore detail that motion blur or missed focus failed to capture.
How do I make a phone portrait look less distorted?
Increase the camera-to-face distance to reduce exaggerated facial perspective. Keep the face near the centre of the frame and avoid taking a close headshot with an ultrawide view.
A tighter crop taken from farther away often looks more natural than filling the frame by pushing the phone close. However, heavy cropping removes image detail, so leave yourself a sensible balance between distance and framing.
How do I photograph children without stiff smiles?
Give children a comfortable activity rather than a complicated pose. Ask them to show you a favourite object, tell you something funny or look towards someone they know.
Choose a bright, safe place and be ready before inviting them into the photograph. Pause if they become tired or frustrated; a relaxed expression matters more than completing a planned pose.
For siblings, let them interact while keeping their faces within the frame. Watch for hands covering eyes and one child standing much closer to the camera than another.
How can you help someone feel comfortable posing?
Start with what feels physically easy. A person leaning gently against a wall or resting their hands naturally has less to think about than someone trying to copy an elaborate stance.
For a graduation portrait in 2026, portrait posing ideas work best as starting points rather than instructions to copy exactly: adapt the stance to the person's comfort, then check what the camera sees. The useful test is whether the pose looks like them, not whether every limb matches a reference.
Try these small changes separately:
- Hands: offer a natural resting place, such as a pocket or chair back, without forcing the position.
- Shoulders: ask for a gentle turn, then let the shoulders drop.
- Chin: make small adjustments and watch the result rather than insisting on an exaggerated angle.
- Expression: keep talking between photographs so the face does not freeze into a held smile.
Avoid making every correction at once. Give one clear suggestion, take the photograph and tell your subject what is working.
How much editing does a phone portrait need?
Edit to support the portrait, not replace the person. Start with a crop, overall brightness and colour balance before trying skin smoothing or dramatic filters.
Compare the edited version with the original at the same viewing size. Look for skin that has lost its texture, unnaturally bright eyes or a face that no longer matches the colour of the neck and hands.
A 2026 family portrait does not need a fashionable colour treatment to feel special. Consistent, believable colour is easier to live with when the photograph becomes part of a display alongside other memories.
Keep the original file and save a separate edited copy. That gives you the choice to revisit the photograph without committing every future use to today's crop or filter.
What should you check before turning a portrait into a gift?
Check the photograph beyond the face. Leave enough space around hair, shoulders and hands for the shape of the finished design, and remember that a landscape layout needs a different crop from a tall portrait.
Pixa Prints is for people who want to turn personal photographs into personalised photo gifts. Your best starting file is the original photograph, not a screenshot or a copy downloaded from a conversation where image compression has reduced detail.
Pixa Prints offers personalised photo printing, including canvas prints, calendars and photo books. Those formats give you different ways to enjoy a portrait, but printing cannot repair missed focus, so inspect the eyes before choosing your design.
When preparing a photo gift with Pixa Prints, keep an uncropped original alongside your edited favourite. You can then adjust the framing for the design without being trapped by a crop made for your phone screen.
FAQ
What's the easiest way to take better portraits with a phone?
Use soft light, simplify the background and focus on the eyes. Keep the phone around eye level and check facial detail before finishing.
Is portrait mode always better for photographing people?
No, portrait mode is not always better for photographing people. Ordinary photo mode avoids artificial blur errors around hair, glasses and complicated outlines.
Should I use the front or back camera for a portrait?
Use the camera that gives you the better result for your framing and light. The front camera helps you compose a self-portrait, while camera quality and controls vary by phone.
Why does my face look different in a close-up phone photo?
A very close camera position exaggerates the difference between nearer and farther facial features. Move the phone farther away and avoid placing your face near the edge of a wide view.
How do I stop glasses reflecting a window?
Change the angle between the face, window and camera until the reflection moves away from the eyes. Keep the position comfortable and check that the face still has flattering light.
Can I fix a blurry portrait by sharpening it?
Sharpening cannot reliably restore facial detail that was never captured clearly. Retake the portrait in better light, steady the phone and check focus on the eyes.
Should I keep the original after editing a portrait?
Yes, keep the original photograph alongside your edited version. It preserves your choices for future crops, colour adjustments and print layouts.
One last thing
Before you put the phone away, take a portrait with a little more space around the person. You can crop away spare background later, but you cannot recover shoulders, hair or hands that were outside the frame.
Capture the expression first; leave yourself room to choose the final crop. That small habit makes a favourite photograph easier to enjoy beyond your phone screen.