
Canvas prints for stairwell photo galleries
· 12 min read
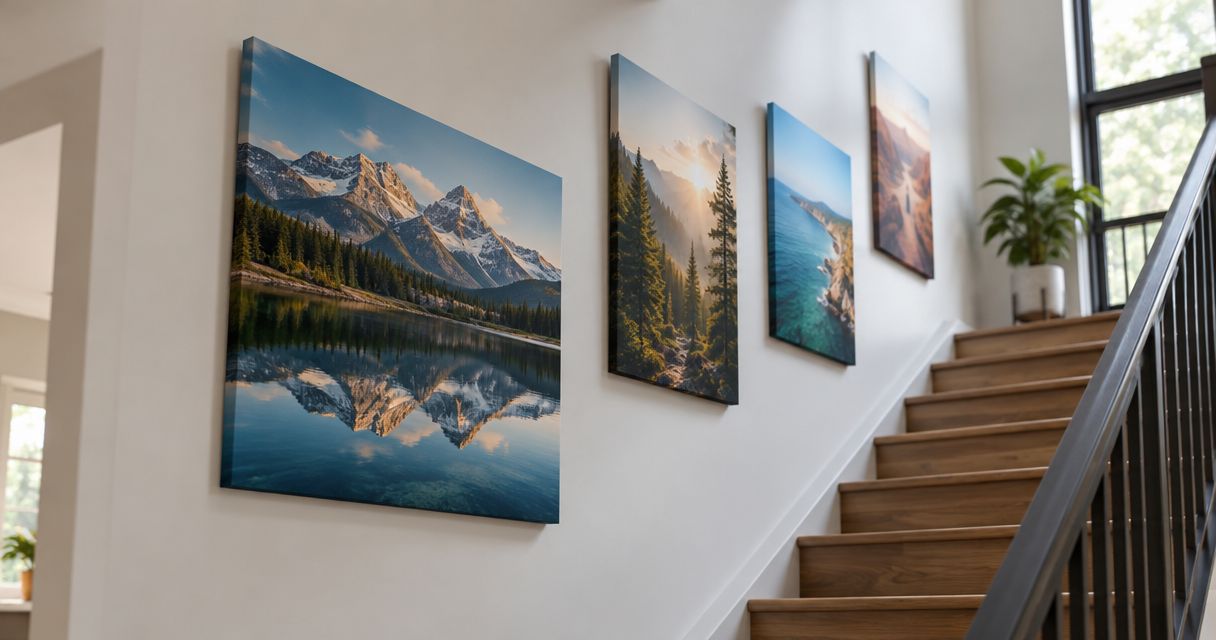
Stairwell canvas printing is the creation of personalised wall art from your photographs to turn the space beside your stairs into a connected photo gallery. This 2026 guide explains how to choose canvas prints for stairwell walls, plan a rising arrangement and check every crop without crowding the handrail or landing.
TL;DR
- Pixaprints canvas printing suits households turning their own photographs into personalised stairwell wall art.
- Plan canvas prints for stairwell walls with paper templates before choosing your final sizes.
- Use a rising arrangement for separate memories; reserve split images for walls with a clear viewing position.
- Check photo quality, edge crops and safe installation access before ordering your gallery.
Why canvas printing matters for stairwell galleries
A stairwell gallery has a different job from a picture above a sofa. You see it while moving, from different heights, and often at an angle rather than straight ahead. The arrangement needs to make sense from the bottom step, halfway up and on the landing.
That makes placement more useful than simply choosing the biggest print. A face positioned comfortably from downstairs can feel awkwardly close as you climb. Start with the usable wall and your viewing positions; the guide to choosing the right canvas print size for your wall helps you carry that thinking into size selection.
For a 2026 gallery refresh, keep the aim personal: give favourite photographs room to be seen. You do not need to fill the entire stairwell to make it feel like your home.
How to plan your stairwell canvas gallery
1. Measure the usable wall, not just its width
Sketch the staircase on paper before browsing print formats. Mark the handrail, switches, door frames, ceiling slope and any turn in the stairs. These features define the space your gallery can actually occupy.
Measure from positions you can reach safely. Do not lean across an open stairwell to collect a measurement; leave inaccessible areas for someone with suitable access equipment.
Use paper rectangles to explore scale. For example, a 30 cm-wide template and a 45 cm-wide template let you compare two possible footprints without committing to either size. These are planning examples, not a statement of the formats any printer supplies.
- Record the clear width and height of each wall section.
- Mark handrail clearance and the route people use.
- Note windows, switches and doors that interrupt the display.
- Identify areas that need professional installation access.
2. Choose a layout that follows your staircase
For a straight flight, start by testing a rising arrangement: separate prints that step upwards alongside the stairs. Use the handrail as a visual reference, but keep the canvas edges clear of it. The pictures should relate to the staircase without competing with its practical use.
A landing offers a different opportunity. A compact grid or single focal canvas can work there because you have a place to stop and look. On a turning staircase, treat each wall as a separate composition rather than trying to force one continuous diagonal around the corner.
Choose the arrangement before choosing every photograph. Otherwise, you risk collecting images that each look lovely but need incompatible shapes or awkward positions.
- Test a rising arrangement on a straight stair wall.
- Try a compact grid where the landing offers a clear view.
- Reserve a single focal canvas for one strong photograph.
- Separate compositions at corners or changes in wall direction.
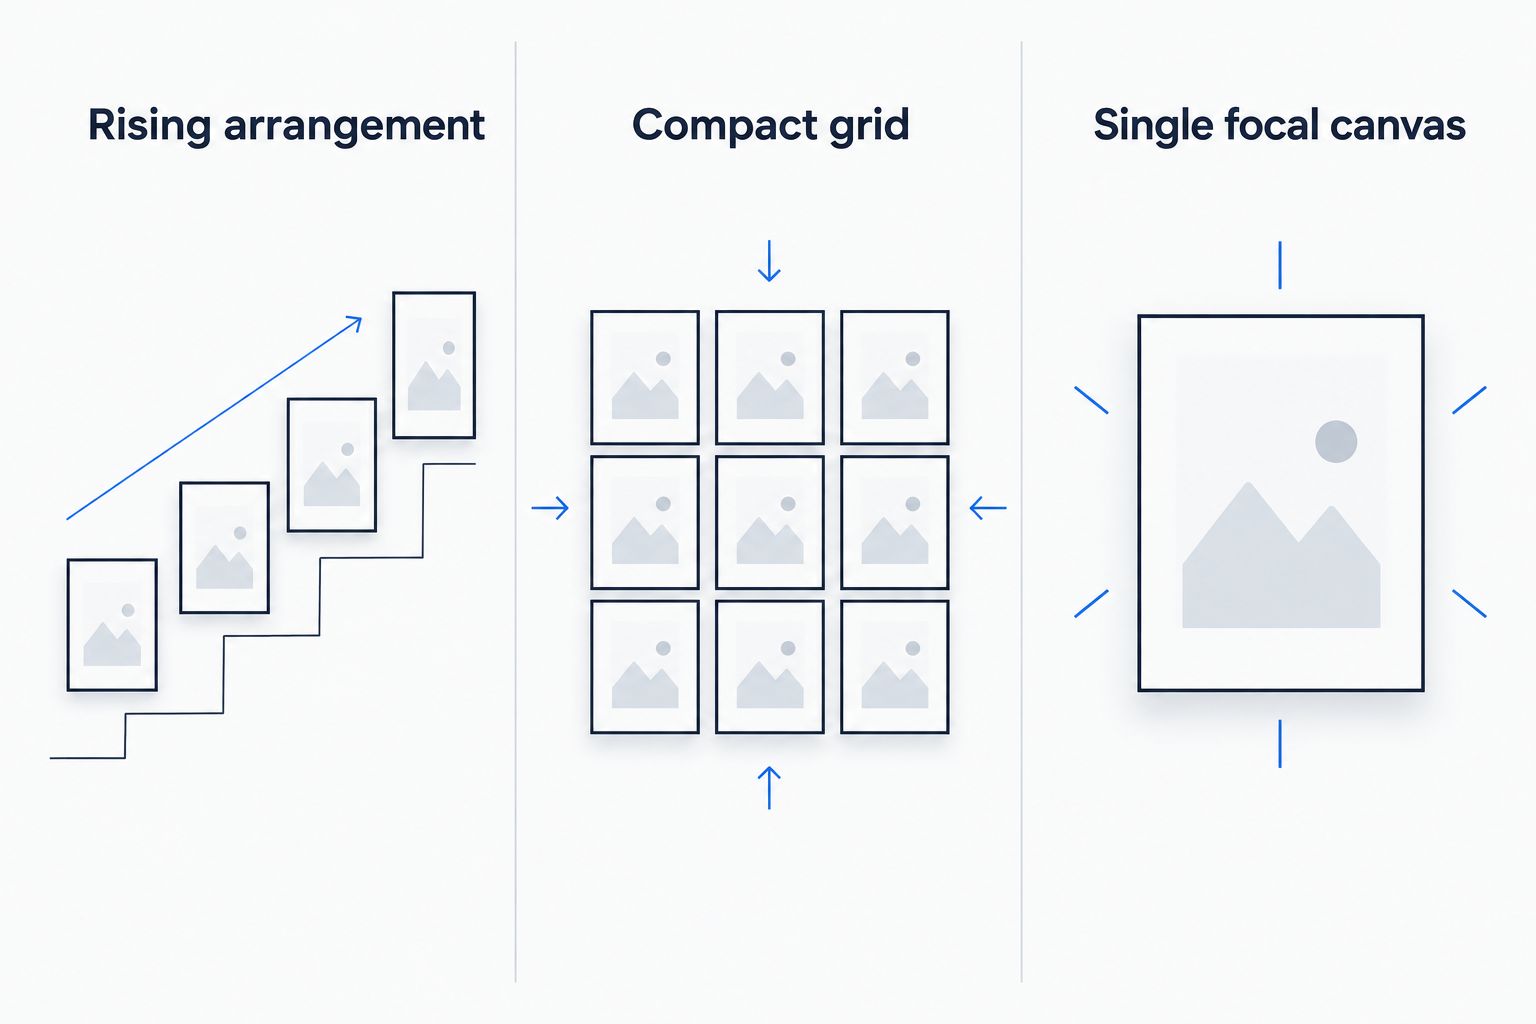
Match the arrangement to the wall and the place you will view it from.
3. Select photographs that belong together
Begin with an album on your phone or computer. Gather the original files, then remove near-duplicates and photographs whose main subject is difficult to see. A smaller, intentional selection gives each memory a clearer place in the gallery.
Choose a connecting idea rather than matching everything mechanically. Family walks, seaside holidays or portraits against simple backgrounds can each give a display a shared thread. For a gallery begun in 2026, you can also mix older memories with recent photographs; the connection matters more than the date.
Pixaprints canvas printing is best for households turning their own photographs into personalised wall art. It provides the printing route once your selection is ready, but you still need to choose the images, arrangement and crops yourself.
- Gather original files rather than screenshots of photographs.
- Choose one connecting subject, mood or colour palette.
- Remove repeated poses unless repetition is deliberate.
- Keep alternative photographs for difficult crops.
4. Match each photograph to its canvas shape
A portrait-shaped space needs a photograph that survives a portrait crop. A wide family group needs enough horizontal room to keep everyone in view. Start by testing those basic relationships in your phone’s editing tools before uploading files for printing.
Pay particular attention to hands, ears, heads and anything meaningful near the photograph’s edges. If the selected canvas uses wrapped image edges, check which parts remain on the front and which continue around the sides. Do not assume the whole uploaded image will appear on the front face.
Avoid making every picture fit an identical shape at any cost. Change the photograph or revise the layout when the crop removes what makes the image special.
- Test the intended portrait, landscape or square crop.
- Keep important faces and details away from vulnerable edges.
- Inspect the original image for blur and missed focus.
- Check the printer’s preview and any image-quality warnings.
5. Rehearse the full gallery with paper templates
Cut paper to the intended outer dimensions of each canvas and label it with the photograph it represents. This gives you a useful preview of the composition without relying on a small screen. Use a wall-safe temporary fixing method suitable for your surface, testing it discreetly first.
As a starting exercise, try a 5 cm gap between neighbouring templates, then adjust it to suit the wall. That is a suggested trial spacing, not a hanging standard. Keep the relationship between pictures consistent rather than insisting on a number that looks wrong in your stairwell.
Walk upstairs and downstairs with the templates in place. Check the view from open doorways too; an arrangement that looks balanced from one step can feel crowded from the hallway.
- Label every template with its chosen photograph.
- Test consistent gaps before experimenting with variation.
- Check the arrangement from upstairs and downstairs.
- Photograph the trial layout from normal viewing positions.
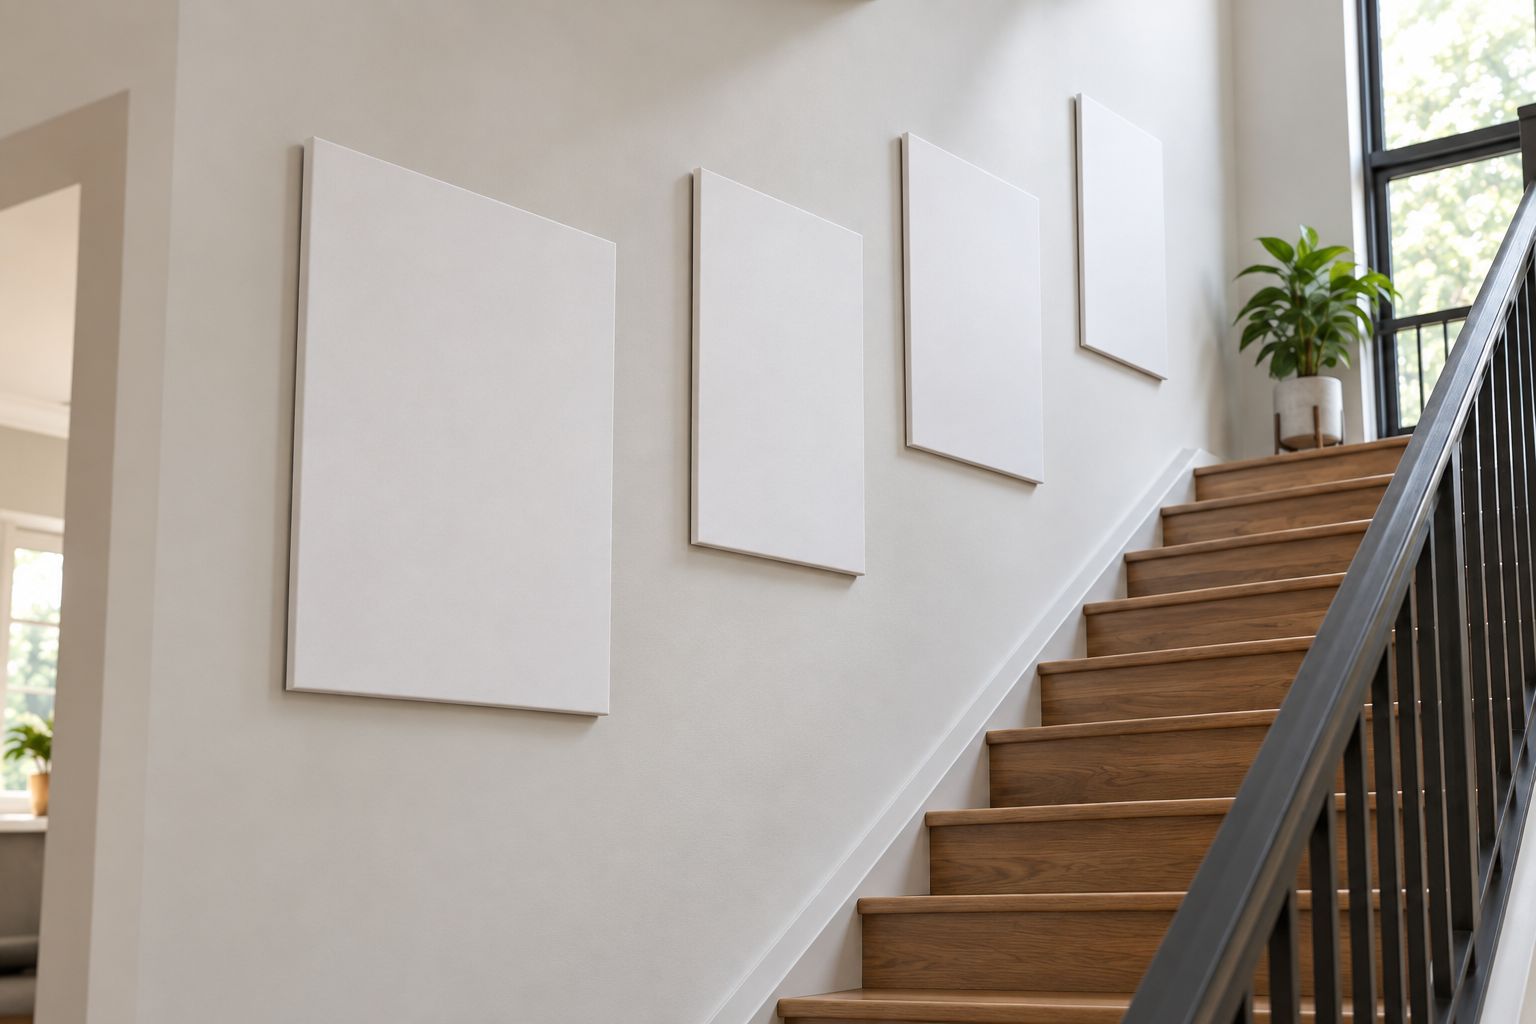
Paper templates let you judge the whole arrangement before ordering.
6. Check the final selection before ordering
Create one final folder containing only the photographs you intend to print. Give each file a descriptive name that matches your paper plan, such as beach portrait or family walk. A folder labelled Stairwell gallery 2026 helps separate the final selection from earlier experiments.
At the ordering stage, compare every chosen format with the corresponding template. Then inspect the image preview individually, not just the overall basket. Similar-looking holiday photographs are easy to confuse when you have several versions.
Pixaprints lets you upload personal photographs to create canvas prints. The practical benefit is turning your chosen files into personalised wall art; the limitation is that printing cannot restore detail absent from the original photograph.
- Match each file to its intended wall position.
- Confirm the selected dimensions and orientation.
- Recheck faces, edge treatment and preview crops.
- Save a copy of your final layout for installation.
7. Plan safe installation and check the finished view
Safe access decides where you can hang a canvas, not the other way round. Stair treads are not a level working platform. Never balance a chair on steps or improvise a platform across the staircase.
Choose fixings appropriate to the wall construction, canvas weight and hanging system supplied. Follow the relevant instructions rather than assuming one hook or adhesive method suits every print. Use a competent installer where you cannot reach the position safely with suitable equipment.
Once the gallery is installed, look at it from the same positions used during the template stage. Check that nothing interferes with using the handrail, opening doors or moving through the landing.
- Identify the wall construction before choosing fixings.
- Check the hanging instructions supplied with each canvas.
- Arrange suitable access or a competent installer.
- Keep the handrail and walking route unobstructed.
Compare stairwell gallery layouts
The best layout depends on the wall’s shape and how you use the space. These are arrangement choices, not claims about specific product ranges or installation systems.
| Option | Best for | Main advantage | Key limitation |
|---|---|---|---|
| Rising arrangement | A straight flight with several separate memories | Follows the upward movement of the staircase | Needs careful template placement to avoid an uneven rhythm |
| Compact grid | A landing wall with a clear viewing position | Gives different photographs a shared structure | Can feel forced against a steep ceiling slope |
| Single focal canvas | One photograph you want to make the centrepiece | Keeps the composition simple | Relies on one image working at the chosen size |
| Mixed-size gallery | A collection with varied image shapes | Accommodates portrait and landscape photographs | Requires more planning to keep the display balanced |
| Split-image arrangement | A broad wall viewed from a consistent position | Connects separate panels through one photograph | Panel gaps and angled views can interrupt faces or important details |
Start with a rising arrangement for a straight stair wall and a compact grid for a landing. Test either choice on paper before deciding it is right for your home. A mixed-size gallery gives you flexibility, but it also creates more spacing decisions.
Common mistakes stairwell decorators make
Filling every available patch of wall
An empty section is not a problem to solve. Leave breathing room around doors, corners and the handrail so the gallery reads as a deliberate group rather than a collection squeezed into gaps.
Judging the arrangement only from downstairs
A stairwell gallery changes as you move. Check the templates from both directions and from the landing before fixing anything permanently; the uppermost picture deserves attention from upstairs as well as below.
Splitting a face across separate panels
A panel gap becomes part of the photograph. Keep faces and other essential details away from divisions, or choose separate photographs instead of dividing one image across canvases.
Ordering large canvases from small screenshots
A screenshot is not a substitute for finding the original file. Retrieve the original photograph where possible, inspect it closely and choose another image if the detail is not there.
Treating installation as an afterthought
A high wall can look ideal until you consider how to reach it. Make access part of your 2026 gallery plan before ordering, especially above turning stairs or an open stairwell.
FAQ
What’s the best layout for canvas prints on a stairwell wall?
A rising arrangement is a useful starting point for a straight stairwell wall. Test paper templates that follow the staircase visually, then check the composition from both the bottom and the landing.
Should stairwell canvas prints follow the handrail?
Stairwell canvas prints can follow the handrail’s rising direction without matching it exactly. Keep the pictures clear of the rail and prioritise a balanced view from both directions.
How far apart should I hang stairwell canvas prints?
Choose the gap by testing full-size paper templates on your wall. A 5 cm gap is a suggested starting trial, not a universal rule; adjust it for the canvas sizes and the available space.
Can I use phone photos for a stairwell canvas gallery?
You can use phone photographs if the original files suit your chosen print dimensions and crop. Check focus, avoid screenshots where originals exist and inspect any image-quality warnings before ordering.
Is one large canvas better than several smaller canvases?
One large canvas suits a single focal photograph, while several canvases suit separate memories arranged along a flight. Choose according to the usable wall, viewing position and strength of your photographs.
Can Pixaprints turn family photographs into canvas prints?
Pixaprints lets consumers upload personal photographs to create custom canvas prints. Choose your final files and test the stairwell layout before ordering, then check each crop carefully.
How do I hang canvas prints safely above stairs?
Use suitable access equipment and fixings matched to the wall, canvas weight and hanging instructions. Do not balance furniture on stair treads; use a competent installer for positions you cannot reach safely.
One last thing
The photograph you love most does not automatically belong highest on the wall. Put it where you naturally pause and can actually enjoy it, such as the landing or the view from the hallway. Choose the viewing position first, then give that memory its place.