
Dropbox to personalised photo mug: complete 2026 workflow
· 13 min read
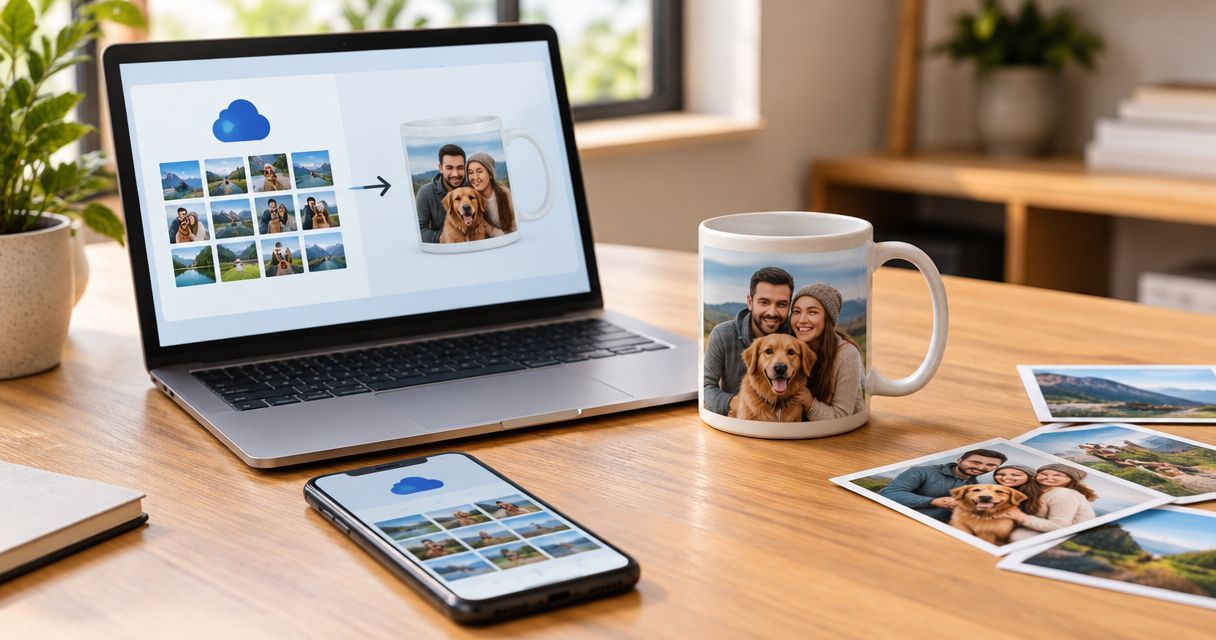
Instead of repeatedly hunting through shared folders and sending photos between devices, download your chosen original from Dropbox, prepare a separate print copy and upload it to your Pixaprints mug design. This 2026 workflow takes you from a stored photograph to a checked design without relying on a direct Dropbox connection.
TL;DR
- For Dropbox photos to photo mug projects, download the original image rather than taking a screenshot.
- Pixaprints personalised photo mugs suit people turning their own photographs into personal gifts.
- Keep an untouched original, prepare a separate print copy and inspect the final crop before ordering.
- Treat later Dropbox edits as a new upload task, not an automatic update to your mug design.
Why this matters
A lovely photograph can lose its meaning when the crop cuts out someone’s face or the file is a screenshot of a preview. Start with the original file, then judge the photograph inside the mug design—not just in Dropbox.
For this 2026 guide, the workflow is a deliberate hand-off: Dropbox stores your source photograph; you download a copy; the printing service receives the file you upload. Keeping those stages separate gives you a clear place to check mistakes before they reach your gift.
Choosing the image matters as much as moving it. If you are still deciding between a portrait, group picture or favourite holiday moment, start with how to choose the right personalised mug for everyday use.
Before you start
- Access and permission: Have access to the Dropbox file and permission to use the photograph. For shared folders, confirm that you can download the image rather than only view it.
- A place to prepare the file: Use a computer or phone with enough storage for the downloaded image, a photo editor you understand and access to the mug-design process. Check the uploader’s stated file requirements before exporting an edited copy.
- The easily missed catch: A shared Dropbox link is not an image file. Download the photograph itself; do not paste a sharing link into a file uploader or save a screenshot of the Dropbox preview.
You do not need to connect your entire Dropbox account to follow this guide. The instructions use a downloaded file, so you can choose exactly which photograph leaves your storage account.
Original-file selection
Begin with the photograph that tells the story, then check whether it can survive the crop. A clear expression usually matters more than an elaborate background.
- Open Dropbox and find the folder containing the photograph. Start with the original upload where you have it, rather than a copy previously saved from a message or social post.
- Open the image and inspect the main subject. Look closely at faces, eyes and any detail that makes the memory special; a small preview can conceal blur.
- Compare similar frames before downloading. Choose the version with the clearest expression and enough space around the subject to adjust the crop later.
- Check which file you have selected. Similar filenames can hide different edits, so use both the filename and the visible image to identify the right version.
- Use Dropbox’s Download command for the selected file. On the web, this can be accessed through the file’s action menu; the position depends on the view you are using.
- Find the downloaded image on your device and open it outside Dropbox. Confirm that it is the actual photograph, not a shortcut, sharing page or compressed folder awaiting extraction.
Expected result: You have a local image that opens independently of Dropbox, and you recognise it as the exact photograph you want to print.
For a shared family folder, ask the photographer which file is the original if several copies look identical. Choosing a larger pixel version helps only when it contains genuine image detail; an enlarged copy of a small image does not recover missing detail.
Print-copy preparation
Keep the source photograph untouched. Make your edits on a separate copy so you can return to the full frame if the mug layout needs a different crop.
- Create a working folder on your device. Give the project a recognisable name, such as Family mug 2026, rather than leaving the photograph among unrelated downloads.
- Keep 2 copies: an untouched original and a separate print copy. Add a clear word such as original or print to the filenames so you can distinguish them without opening each file.
- Open the print copy in your photo editor. Correct the orientation first, then make restrained brightness or colour adjustments only where the photograph needs them.
- Leave breathing room around faces, pets and meaningful objects. Avoid making a tight final crop before you have seen the mug’s actual design area.
- Check the uploader’s accepted file types and any image-size guidance. Export a supported image file, keeping useful detail rather than deliberately shrinking it for easier messaging.
- Reopen the exported file. Confirm that the image is upright, the edit is the one you intended and no unwanted border or text has appeared.
Expected result: You have an identifiable print copy that meets the uploader’s stated requirements, plus an untouched original available for another crop.
Which file should you use?
These are file-preparation options, not different mug products. Choose the route that solves a real problem in your photograph.
| File option | Best for | Advantage | Limitation |
|---|---|---|---|
| Original download | A photograph that already looks right | Preserves the source image without extra editing | Still needs checking in the mug layout |
| Separately edited copy | Correcting orientation, brightness or distracting framing | Lets you improve presentation while keeping the original | Repeated saving or heavy edits can reduce image quality |
| Screenshot of preview | A temporary reference only | Helps identify which photograph you mean | Captures the screen view rather than the original image; avoid it for printing |
Use the original download unless a specific edit improves the photograph. A familiar face with a natural expression needs less intervention than you might think.
Mug-design upload
The transfer method stays the same in 2026: choose the downloaded image from your device, then inspect how the design uses it. Do not assume a photograph that looks right in a rectangular viewer will automatically suit the mug layout.
- Open the Pixaprints personalised photo mug design you want to create. Read the selected design’s instructions before preparing a tightly cropped file.
- Start the image-upload process and choose your local print copy. Check the filename carefully, especially if the original and edited versions sit beside each other.
- Wait for the image to finish loading before adjusting it. Confirm that the uploaded photograph matches your local print copy rather than another file with a similar name.
- Position the main subject within the visible design area. Keep important details away from indicated trim boundaries and inspect any part of the design that approaches the handle area.
- Adjust the crop using the controls provided. If you cannot include everyone without making faces too small, choose another photograph instead of forcing the frame.
- Add wording only if your selected design provides that option and the message adds something personal. Check names, apostrophes and capital letters before continuing.
Expected result: The correct image appears in the design, the main subject remains intact and any wording reads exactly as intended.
The main trade-off is control versus checking: Pixaprints lets you use your own photograph for a personal gift, but you still need to judge whether that photograph suits the chosen layout. A successful upload confirms file transfer, not a successful crop.
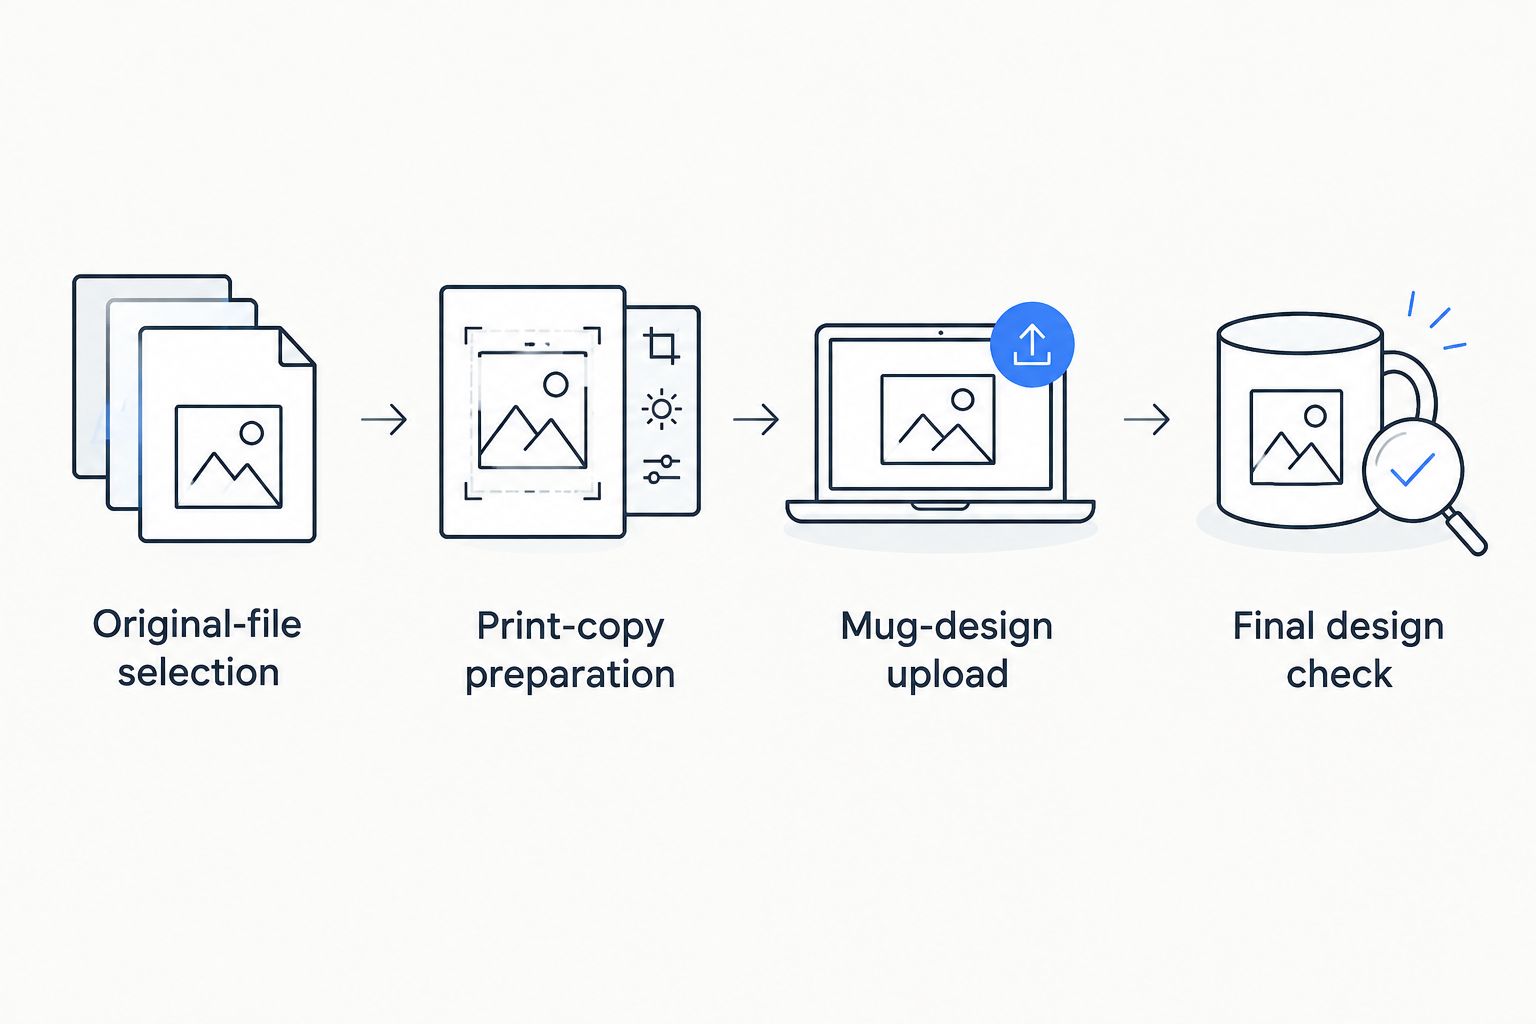
Check the file before upload and the crop after upload.
Final design check
Before you order, compare the design with the photograph you meant to use. This is the point to catch a missing face, an unwanted crop or a spelling mistake—not after you have committed to the design.
- Complete 3 checks: image, crop and wording. For the image check, confirm the correct people, moment and edited version are present.
- Inspect the whole available preview, not just its centre. Look for cut-off hair, partial faces, distracting edges and important details that have become too small.
- Read any text separately from the photograph. A familiar name is easy to skim past, so check each letter rather than recognising the overall shape.
- Resolve any image-quality warning shown by the editor before continuing. Return to the original file or choose another photograph instead of assuming the warning will disappear in print.
- Record the source filename in your own project notes. Keep that record with the print copy so a future remake starts with the same image rather than another search through Dropbox.
Expected result: You can identify the source file, explain the crop and confirm the wording without guessing.
For a 2026 birthday gift, also read any date written into the design as a separate check. A correct photograph cannot compensate for the wrong occasion or year.
When someone updates the Dropbox photograph
An updated family edit creates a second, useful workflow: replace the local print copy and repeat the design checks. Treat the uploaded image as a snapshot, not a live connection to Dropbox.
- Ask the person making the edit to identify the approved file clearly. A descriptive filename is more useful than several near-identical copies marked final.
- Download that approved file and open it locally. Confirm the requested change is present before replacing anything in your mug design.
- If the design is still editable, replace the previous image using the available controls. Recheck the crop because a changed frame or orientation can alter the placement.
- If you have already submitted the order, check the service’s order-amendment guidance before making assumptions. Updating Dropbox does not itself communicate a change to a submitted print order.
Keep 1 approved print copy for the design you intend to submit. Archive superseded versions elsewhere so the next upload does not become another guessing game.
Troubleshooting
The shared photo opens, but you cannot download it
Check that you are signed into the intended Dropbox account and have access to the file. Ask the owner to check sharing and download permissions, or to provide an authorised copy of the original photograph.
Do not use a screenshot to work around the restriction. It changes the source quality without resolving permission to use the image.
The downloaded item is a ZIP file
You have downloaded a packaged selection or folder rather than a ready-to-upload image. Extract it on your device, then open the intended photograph and select that individual image for upload.
Check filenames after extraction. A folder containing several edits still needs a deliberate choice.
The uploader rejects the image
Compare the actual file type and size with the uploader’s stated requirements. If conversion is needed, export the photograph through an image editor into a supported format; simply changing the filename extension is not conversion.
Keep the original while you troubleshoot. Avoid repeatedly reducing the image before you know which requirement caused the rejection.
The mug preview looks soft or crops out someone
First confirm you used the original download, not a screenshot or thumbnail. If the source itself is blurred, choose another photograph; sharpening cannot restore detail that was never captured.
For a crop problem, return to the full-frame original and reduce the amount removed. If the layout still cannot include everyone clearly, use a different image.
The old edit still appears
Open your local print copy to verify that it contains the new edit, then replace the design’s uploaded image. Use a distinct filename so you can tell the revised file from the earlier version.
Check the resulting preview again. A change in Dropbox alone does not confirm that your mug design contains the replacement.
Customise your workflow
Once the file transfer works, make the gift feel like the recipient. Choose a photograph they connect with: an everyday expression, a favourite walk or a family moment they helped create.
For repeat projects in 2026, keep a simple record of the source filename, edited filename and intended recipient. That small habit lets you reuse a meaningful photograph without accidentally reusing someone else’s message.
Pixaprints personalised photo mugs are best for people who want their own photograph to be the centre of a personal gift. Keep the design focused; extra wording should support the memory rather than compete with it.
FAQ
How do I get Dropbox photos to photo mug designs?
Download the original photograph from Dropbox, save it on your device and upload that file into your chosen mug design. Check the crop and any wording before submitting the design.
Do I need a direct Dropbox connection to make a Pixaprints photo mug?
No direct Dropbox connection is needed for the download-and-upload workflow. Save the photograph locally, then select that file during the image-upload process.
Can I use a shared Dropbox link instead of an image?
A shared Dropbox link is not the image file required by a file uploader. Open the shared photograph and download an authorised copy before uploading it.
Should I use a screenshot of my Dropbox photograph?
Use the original photograph rather than a screenshot for printing. A screenshot captures the displayed preview and can include reduced detail or unwanted screen elements.
Will editing the Dropbox file update my mug design automatically?
Treat a previously uploaded image as a separate copy. Download the revised photograph, replace the image in the editable design and check the crop again.
What if my photo looks blurry in the mug preview?
Check that you uploaded the original file rather than a thumbnail or screenshot. If the original is blurred or the editor flags insufficient detail, choose a clearer photograph instead of enlarging the same file.
Can I follow this Dropbox photo workflow on my phone?
Yes, the download-and-upload method can be followed on a phone when you can save the image locally and access the mug-design process. Locate the saved file before opening the uploader so you do not select a different image by mistake.
One last thing
Make your final check about the memory, not the software. Ask whether the person receiving the mug will immediately recognise the moment you chose; if a technically tidy crop removes what made it special, return to the original and try again.
Keep the full photograph safe. The best crop for this mug does not have to become the only version you retain.