
Design a Personalised Phone Case That Looks Good (2026)
· 10 min read
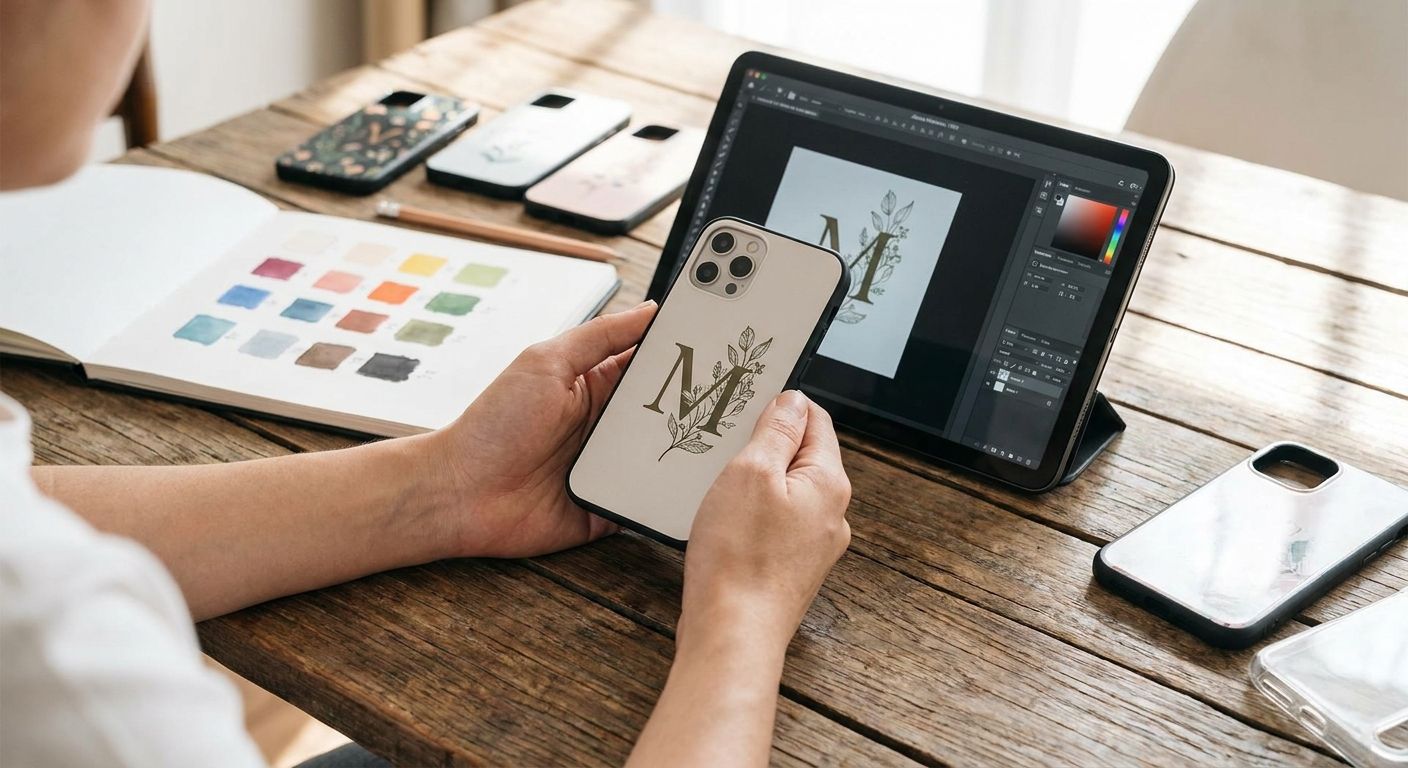
Getting a personalised phone case design right comes down to photo resolution, layout choices around the camera cutout, and colour contrast that still reads well on a small screen-sized surface. This guide walks through exactly how to design a personalised phone case that looks sharp in your pocket and even better when someone asks where you got it.
TL;DR
- Use photos at least 1200 x 2400 pixels to design a personalised phone case that prints sharp, not blurry.
- Keep faces and key details 5mm clear of the camera cutout and case edges.
- High-contrast backgrounds beat busy ones — a phone case is viewed at arm's length, not framed on a wall.
- Ordering straight from your phone works fine in 2026 as long as you check the crop preview before paying.
- Pixa Prints' case designer flags low-resolution uploads before you order, so fix warnings rather than ignoring them.
Why this matters
A phone case gets handled, glanced at, and photographed more than almost any other personalised gift you'll ever order. Unlike a canvas print viewed from across a room, a case is seen up close, in bright daylight, at the school gates, on a train.
That close-range viewing distance is exactly why so many personalised phone cases come out disappointing. The photo looked fine on a laptop screen but pixelates once it's stretched over a 6-inch case. Get the resolution, cropping and contrast right at the design stage and the print looks intentional, not stretched.
If you're used to ordering photo prints straight from your phone, the same phone-first workflow applies here — you just need a few extra checks specific to case shape and camera cutouts.
What you'll need
- A photo at least 1200 x 2400 pixels (most phones taken since 2020 shoot well above this)
- Your exact phone model, including generation — case moulds differ by millimetres
- 10 minutes of uninterrupted time to preview the crop before ordering
- A second photo as backup in case your first choice looks washed out once cropped
- Access to the Pixa Prints phone case designer on desktop or mobile
The steps
1. Pick a photo with a clear focal point
A phone case is small, so busy group shots or wide landscapes lose all their detail once cropped down. Choose one clear subject — a face, a pet, a single object — rather than a scene with ten things competing for attention.
Zoom into the photo on your phone before uploading. If it looks soft or pixelated at 100% zoom, it will look worse printed. This single check eliminates most of the blurry-case complaints before they happen.
Common mistake: picking a photo because of the memory attached to it rather than how it actually looks cropped to a portrait rectangle. Sentimental value doesn't fix low resolution.
2. Check your resolution before you upload
Aim for at least 1200 x 2400 pixels — that's roughly what a phone case print needs to stay sharp at typical viewing distance in 2026. Anything shot on a phone camera from the last five or six years clears this easily; anything downloaded from social media or a messaging app often doesn't, because those platforms compress images heavily.
If you're pulling photos from Instagram, treat the file the same way you would when turning Instagram photos into canvas prints — go back to the camera roll original rather than a screenshot of the app, which drops resolution twice over.
Expected outcome: the designer tool should not show a low-resolution warning. If it does, swap the file before going further.
3. Select your exact phone model
Case moulds are cut to millimetre-precise cutouts for cameras, buttons and charging ports, and these change between phone generations even within the same brand. Selecting the wrong model means holes lining up in the wrong place or a case that won't sit flush.
Double-check your model in your phone's settings menu rather than guessing from memory — many people don't actually know which generation they're carrying.
Common mistake: picking the case size that looks close enough. A millimetre off around the camera cutout is visible and irritating every time you use the phone.
4. Position the image around the camera cutout
This is the step most personalised phone case designs get wrong. The camera module sits in one corner and needs a genuine buffer — keep faces, text and anything you care about at least 5mm clear of that cutout and the outer edge.
Use the live preview in the case designer to drag and resize the photo until nothing important sits under or right against the cutout. Rotate or reposition if a face or key detail lands in that zone.
Why it matters: anything placed too close to the cutout either gets obscured by the camera bump or trimmed off entirely during manufacturing tolerances.
5. Adjust contrast and colour for a small surface
Colours that look balanced on a laptop screen can look muddy once printed at case size. Photos with strong contrast — a bright subject against a plain or dark background — read far more clearly than low-contrast, evenly-lit shots.
If your photo looks flat, brighten it slightly and boost contrast before uploading, using your phone's built-in editor. You don't need professional software for this in 2026 — the native photo apps on iOS and Android both handle basic contrast adjustment well.
Common mistake: adding text over a busy photo background. If you want a name or date on the case, place it over a solid colour block or a plain section of the image, not over detailed texture.
6. Preview at full size before ordering
Zoom the design preview to 100% and check every edge, not just the centre of the image. This is the single most skipped step and the single biggest cause of returns.
Look specifically at the corners, the button cutouts, and any text you've added. If anything looks cropped oddly or blurred at the edges, go back and reposition rather than hoping it'll be fine once printed.
Expected outcome: what you see in the preview is what prints — there's no manual review step after you confirm, so this is your last chance to catch an issue.
7. Order and check the confirmation details
Once the design and preview both check out, confirm your order and double-check the case material and phone model listed on the confirmation screen match what you selected. Mistakes at checkout — picking the wrong model from a dropdown — are more common than design errors at this final stage.
Browse personalised photo gifts
See the full range of custom prints and gifts Pixa Prints makes from your photos.
Troubleshooting
- The preview looks blurry even though my photo looked fine on my phone. Your file is likely below 1200 x 2400 pixels once compressed by an app. Re-upload the original camera roll file, not a downloaded or shared copy.
- A face or important detail sits right on the camera cutout. Reposition the image using the drag tool rather than shrinking it — shrinking often makes the resolution issue worse.
- Colours look washed out in the preview. Increase contrast and brightness slightly in your phone's photo editor before re-uploading; screens and printed plastic render colour differently.
- Text I added is hard to read. Move it onto a plain section of the photo or a solid colour bar rather than over a detailed background.
- I can't tell which phone model I have. Check Settings > General > About on iOS or Settings > About Phone on Android — don't guess from the case you're currently using.
- The design looks fine but I'm not confident before ordering. Save a screenshot of your 100% zoom preview and review it once more before confirming — a second look at full size catches most remaining issues.
Tools and resources
- Your phone's native camera roll — use original files, not screenshots or downloads
- Your phone's built-in photo editor for contrast and brightness tweaks
- The Pixa Prints phone case designer, accessed via desktop or directly from your phone
- A tape measure or your phone's spec page if you're unsure of the exact model generation
- How to print panoramic photos without cropping if you're adapting a wide shot down to a case-sized crop
What to do next
Once your case design is sorted, the same resolution and cropping principles carry over to other personalised photo gifts. If you've got a photo that didn't quite work for the case because it was too wide, it's often a strong candidate for a canvas print instead — check how to choose the right canvas print size for your wall to see how the same crop-and-resolution logic applies at a much larger scale.
FAQ
What resolution do I need to design a personalised phone case?
Aim for at least 1200 x 2400 pixels so the print stays sharp at close viewing distance. Most phone camera photos from 2020 onward clear this easily, but downloaded or screenshotted images often don't.
Can I design a personalised phone case straight from my phone?
Yes, the Pixa Prints case designer works directly on mobile in 2026, no desktop needed. Just check the full-size preview before confirming, since that's the last step where you can catch cropping issues.
Why does my photo look blurry once I upload it to the case designer?
It's almost always a resolution problem caused by uploading a compressed or downloaded copy rather than the original camera file. Go back to your camera roll and re-upload the source image.
How close can text be to the camera cutout on a phone case?
Keep any text, faces or important detail at least 5mm from the camera cutout and outer edges. Anything closer risks being obscured by the camera bump or trimmed during manufacturing.
Do busy photo backgrounds work well on a personalised phone case?
No, busy or low-contrast backgrounds read poorly at case size and arm's-length viewing distance. A single clear subject against a plain or dark background prints far more clearly.
Is it better to use an Instagram photo or my original camera roll photo?
Always use the original camera roll file. Instagram and other social apps compress images on upload and again on download, which can push resolution below the 1200 x 2400 pixel minimum.
What's the most common mistake when designing a phone case?
Skipping the full-size preview check before ordering. Cropping issues around the camera cutout and edges are only obvious at 100% zoom, not in the smaller default preview.
One last thing
The camera cutout buffer trips up more people than resolution does — a photo can be pin-sharp and still look wrong if a face sits half-covered by the lens module. Zoom to 100% and check every corner before you confirm, not just the centre of the design.