
Poster Print From Multiple Photos: 2026 How-To Guide
· 9 min read
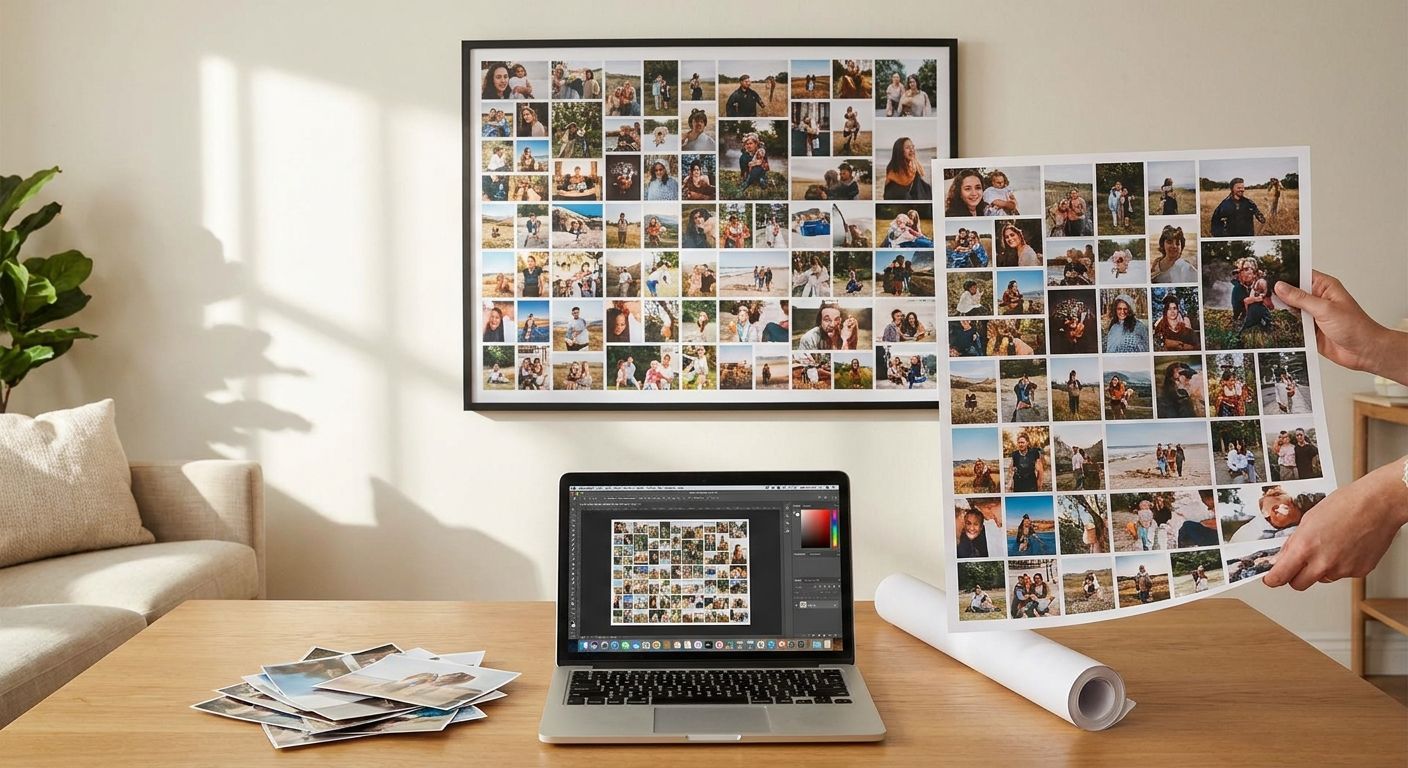
Turning a handful of photos into one poster-sized canvas print sounds simple until you actually try to line up six or seven images without the result looking like a school notice board. This guide covers picking the right photos, choosing a layout that holds together, and getting a poster print from multiple photos made as a single canvas rather than a pile of separate prints.
TL;DR
- A poster print from multiple photos works best as a fixed grid or collage on a canvas print, not loose panels.
- 300 DPI is the minimum resolution each source photo needs to avoid a blurry poster print in 2026.
- Odd numbers of photos (5, 7, 9) read as more deliberate on a wall than perfectly even 4x4 grids.
- Panoramic or wide layouts suit travel and landscape shots better than square grids - check before you upload.
Why this matters
A single low-res phone photo stretched to fill a poster cell turns soft and blocky the moment it's printed at size - a problem invisible on a screen but obvious from three feet away on a wall in 2026. Most collage tools also default to even grids (4, 9, 16 photos), which flatten a story that actually has a natural hero shot and a few supporting ones. Sorting resolution and layout before you touch a canvas print saves a reprint and a second wait for delivery.
What you'll need
- 6 to 12 photos with a shared theme (one trip, one wedding, one child's first year)
- Each photo at 300 DPI or higher at the size it'll occupy in the final poster
- A rough sense of wall space - most poster-style layouts land somewhere between 40x60cm and 60x90cm
- A phone or laptop to upload and preview the layout
- A canvas print order set up on a size that matches your wall, since a multi-photo poster prints best as one continuous canvas rather than several small prints hung apart
The steps
1. Pick a theme, not just favourites
A poster print from multiple photos works because the images share a story - a holiday, a house move, a first year of a pet or baby. Grabbing 10 unrelated favourites from your camera roll makes the layout feel random even when the individual shots are strong. Pick photos that were taken within the same trip, season or event so the eye reads them as one thing.
Common mistake: mixing portrait and landscape orientation heavily throughout the set. A couple of orientation switches read as intentional; six switches in a nine-photo grid looks unplanned.
2. Choose a layout that fits the photo count
A layout built for 9 photos will crush 6 photos into oversized gaps, and a layout built for 6 will crop 9 photos too tightly. Decide the photo count first, then pick the grid or collage layout to match, rather than forcing photos into a template that was never sized for them. Pixa Prints' guide on choosing the right canvas collage layout covers which grid shapes suit which photo counts.
Odd numbers - 5, 7, 9 - tend to look more considered than even ones, because they force one photo to sit as a visual anchor rather than everything competing equally.
3. Check resolution before you upload anything
For a poster-style canvas print at roughly 40x60cm, each cell needs its source photo to hold up at close to 300 DPI - the standard minimum for sharp print output. A photo occupying a quarter of the poster needs less raw resolution than one filling half the canvas, so check the largest cell first. Anything pulled from an old text message or a heavily compressed social download is the most likely culprit for a blurry result.
4. Crop for the story, not just the frame
Cropping to fit a grid cell will happily cut off a face at the edge of the shot if you're not paying attention. Zoom into each crop preview before confirming - faces near the edge of a cell, especially at the corners of a grid, are the single most common thing people miss until the canvas print arrives. Leave a little breathing room around faces rather than cropping tight to the frame edge.
5. Keep colour tone consistent across the set
A warm, sunlit beach photo sitting next to a cool, overcast indoor shot pulls the whole poster print out of balance once it's printed at size. Adjust brightness and warmth on the outliers so the set reads as one palette rather than six separate edits. This matters more on canvas than on a screen, because canvas texture already softens contrast slightly.
6. Match the canvas size to the wall, not the other way round
Measure the wall space first, then pick the canvas print size - not the reverse. Pixa Prints' guide on choosing the right canvas print size for your wall walks through common room-to-size pairings if you're unsure whether 40x60cm or 60x90cm suits the space. A poster-style multi-photo layout generally needs slightly more canvas than a single hero image, since each photo needs enough room to read clearly on its own.
7. Preview the proof properly before confirming
Zoom into every cell of the digital proof, not just the thumbnail view, checking for stretched faces, awkward crops at seams, and any photo that looks noticeably softer than the rest. Catching a resolution problem at proof stage costs a few minutes; catching it after the canvas print arrives costs a reorder and another wait.
Build your poster-style canvas print
Upload your photo set and preview the layout before you order.
Troubleshooting
Photos look blurry in the proof. The source image is below 300 DPI at that cell size - swap it for a higher-resolution version or shrink its cell in the layout.
Faces are cut off at grid seams. Re-crop that cell with more breathing room around the face; don't rely on the template's default crop.
One photo looks washed out next to the rest. Adjust exposure and warmth on that single image before uploading rather than trying to fix it after the poster print is made.
A wide landscape or panoramic shot gets squashed into a square cell. Square grids distort wide shots badly. If your set includes a panoramic photo, check the guide on printing panoramic photos without cropping before forcing it into a standard grid cell.
The whole layout feels crowded. Drop to fewer, larger photos - 6 well-chosen images almost always read better on a wall than 12 small ones competing for attention.
Colours look different once printed versus on screen. Canvas texture naturally mutes contrast slightly compared with a glossy screen; brighten images 5-10% more than feels necessary on screen before ordering.
Tools and resources
- Canvas prints - the base product for a multi-photo poster print
- Canvas collage layout guide - grid shapes matched to photo counts
- Canvas print size guide - matching size to wall space
- A resolution check on each source photo before upload - the single most common cause of a disappointing poster print
What to do next
Once the layout and resolution are sorted, order a proof before committing to the final poster print, and keep the original photo files somewhere safe in case a reprint or a second, matching canvas is wanted later in 2026. If the set includes shots pulled from Instagram rather than a camera, resolution issues are more common - worth checking those images twice.
FAQ
What's the best layout for a poster print from multiple photos?
A grid or collage layout sized to match your photo count works best - 6 to 12 photos in an odd-numbered grid (5, 7 or 9) tends to read more deliberately on a wall than a perfectly even 4x4 layout.
How many photos should go into one poster print?
Between 6 and 12 photos is the practical range for one poster-style canvas print in 2026. Fewer photos give each image more room and print sharper; more than 12 tends to crowd the layout.
What resolution do I need for a multi-photo poster?
Each photo needs to hold up at roughly 300 DPI at the size of its grid cell. A photo filling half the canvas needs more raw resolution than one filling a small corner cell.
Can I use panoramic photos in a poster collage?
Yes, but a wide panoramic shot distorts badly in a square grid cell. Check a panoramic-specific layout so the photo isn't squeezed or cropped unnaturally.
Is a canvas print better than a paper poster for a multi-photo layout?
Canvas holds colour and texture better on a wall long-term than a flat paper poster, and it doesn't need a frame to look finished. For a multi-photo poster print, canvas also masks slight resolution softness better than glossy paper.
How do I stop faces getting cut off in a photo grid?
Zoom into each grid cell's crop preview before ordering and leave breathing room around faces near cell edges. Faces cropped tight at a seam are the most common complaint with multi-photo poster layouts.
What size poster print works for a living room wall?
40x60cm to 60x90cm covers most living room walls for a multi-photo poster in 2026, depending on how much wall space is available above furniture.
Should all the photos in a poster print match in colour tone?
Yes - a warm, sunlit photo next to a cool, overcast one throws off the whole poster once printed. Adjust brightness and warmth on outlier photos before uploading so the set reads as one palette.
One last thing
The detail that trips up most first-time multi-photo posters isn't the layout - it's uploading the exact same photo at two different resolutions without realising it, usually because one copy came from a camera roll and the other from a compressed social download. Check file size, not just how the thumbnail looks, before locking in the final canvas print for 2026.