
iCloud Photos to canvas print: complete 2026 workflow
· 13 min read
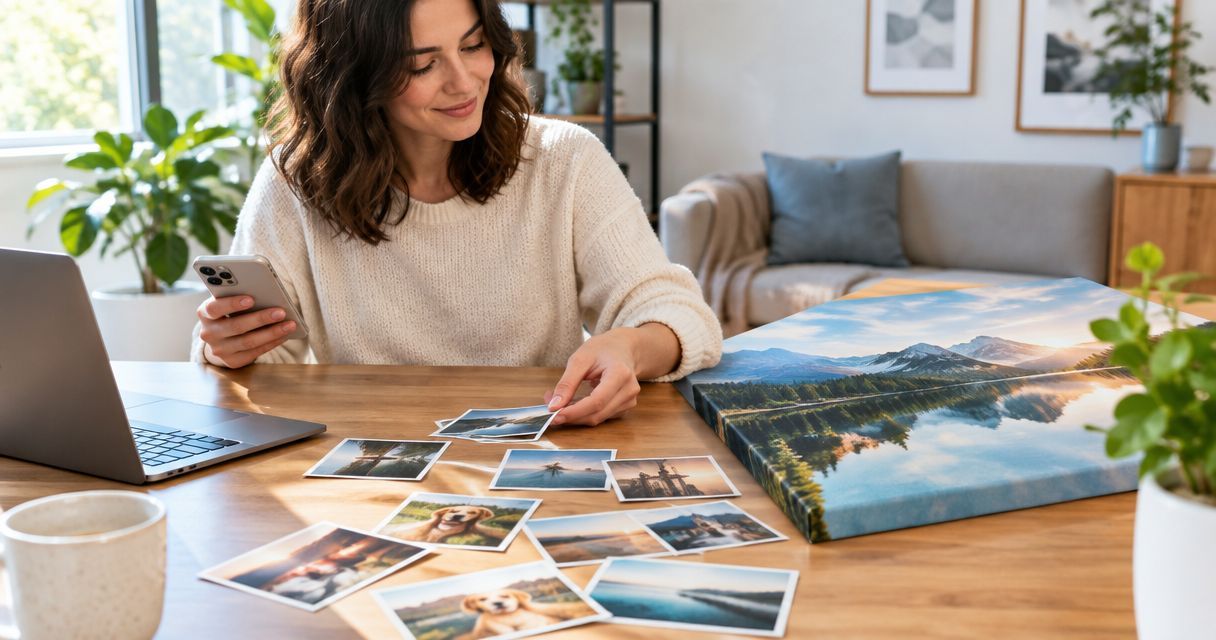
Instead of moving pictures between messages and downloads, use this iCloud Photos to canvas print workflow: download the full-size photo, check its crop, then upload the finished file for your canvas. This 2026 guide covers the Mac route, a browser alternative and the checks that keep faces and favourite details in the frame.
TL;DR
- For iCloud Photos to canvas print, export a full-size image before uploading it for printing.
- Pixaprints canvas printing suits UK consumers turning personal photos into wall art.
- Use a JPEG export to retain your visible Photos edits in a widely supported format.
- Check resolution, canvas proportions and wrapped edges before approving your design.
Why this matters
A photo that looks lovely on your phone is not automatically ready for a wall. A small screen hides softness, while a canvas crop can remove the very detail that makes the picture special.
The file you upload matters more than the route you use to download it. Start with the full-size image rather than a screenshot or a copy saved from a message. Then make the printing decisions separately: proportions, subject placement and the final preview.
For help judging the space above a sofa or beside a doorway, use the guide to choosing the right canvas print size for your wall. Choose the shape before committing to a tight crop.
This is a download-and-upload workflow, not an automatic connection between iCloud and a printing service. You stay in control of which photo leaves your library and which version becomes wall art.
Before you start
- Access and equipment: For the main workflow, use a Mac with your iCloud Photos library available in Photos, an internet connection and space to save the exported file. For the browser alternative, have your Apple Account sign-in details and access to your verification method.
- Your chosen picture and destination: Pick a photo you have permission to reproduce, decide where the canvas will hang and measure the space. Keep the original safely in your library while you prepare a separate printing file.
- The easy-to-miss gotcha: An unmodified original does not include edits made in Photos. If you want your adjusted crop, exposure or colour, export the edited photo rather than choosing Export Unmodified Original.
Choose your download route
Both routes below lead to a local file you can inspect before uploading. Neither removes the need to check the canvas preview.
| Route | Best for | Advantage | Limitation |
|---|---|---|---|
| Mac Photos export | Keeping Photos edits and choosing export settings | Gives you explicit control over JPEG quality and image size | Requires a Mac with access to the photo library |
| iCloud Photos in a browser | Downloading without using the Mac Photos app | Lets you retrieve a photo through your browser | Download choices need checking, especially when you want an edited version |
Choose Mac Photos when export control matters most. Choose the browser route when you simply need to retrieve your picture on the computer you are using.
Photo selection in Mac Photos
A good canvas starts with the right frame, not the most dramatic filter. Use these steps to choose a picture that still works when enlarged.
- Open Photos on your Mac and find the image in your library. Open the picture rather than judging it from its thumbnail.
- Let the image finish loading from iCloud before inspecting it. If Photos reports a connection or download problem, resolve that before exporting.
- Enlarge the view and examine the important details: eyes in a portrait, fur in a pet picture or the main building in a holiday scene. Reject a frame where the subject is visibly blurred.
- Select Edit if you need to straighten the horizon or adjust the picture. Keep your changes gentle, especially when brightening dark areas that already look grainy.
- Select Done when you are happy with the edited version. Leave room around faces, ears and other details that must remain visible.
Expected result: You have selected a sharp picture and decided whether the edited appearance is the version you want to print.
For a family photograph, look beyond technical sharpness. Check expressions, distracting objects and the edges of the frame. A slightly wider composition often gives you more freedom when fitting the image to a canvas.
Full-size JPEG export
For this 2026 workflow, export a separate JPEG so you can identify exactly which file you are uploading. Do not overwrite your only copy or change the filename extension to disguise another format.
- Select the photo in Photos. With a single image selected, open File, then Export, then Export 1 Photo….
- Set Photo Kind to JPEG. This creates a still-image file suitable for a conventional photo-upload workflow rather than passing on a Live Photo's motion component.
- Set JPEG Quality to Maximum and Size to Full Size. These settings avoid deliberately reducing the image during export; they cannot repair blur or recreate detail already missing from the source.
- Select Export and save the file in an easy-to-find folder. Use a recognisable filename that distinguishes this printing copy from earlier downloads.
- Open the exported JPEG outside Photos. Confirm that its orientation, edits and composition match the picture you intended to use.
Expected result: You have a local, full-size JPEG that opens correctly and shows the appearance you want on your canvas.
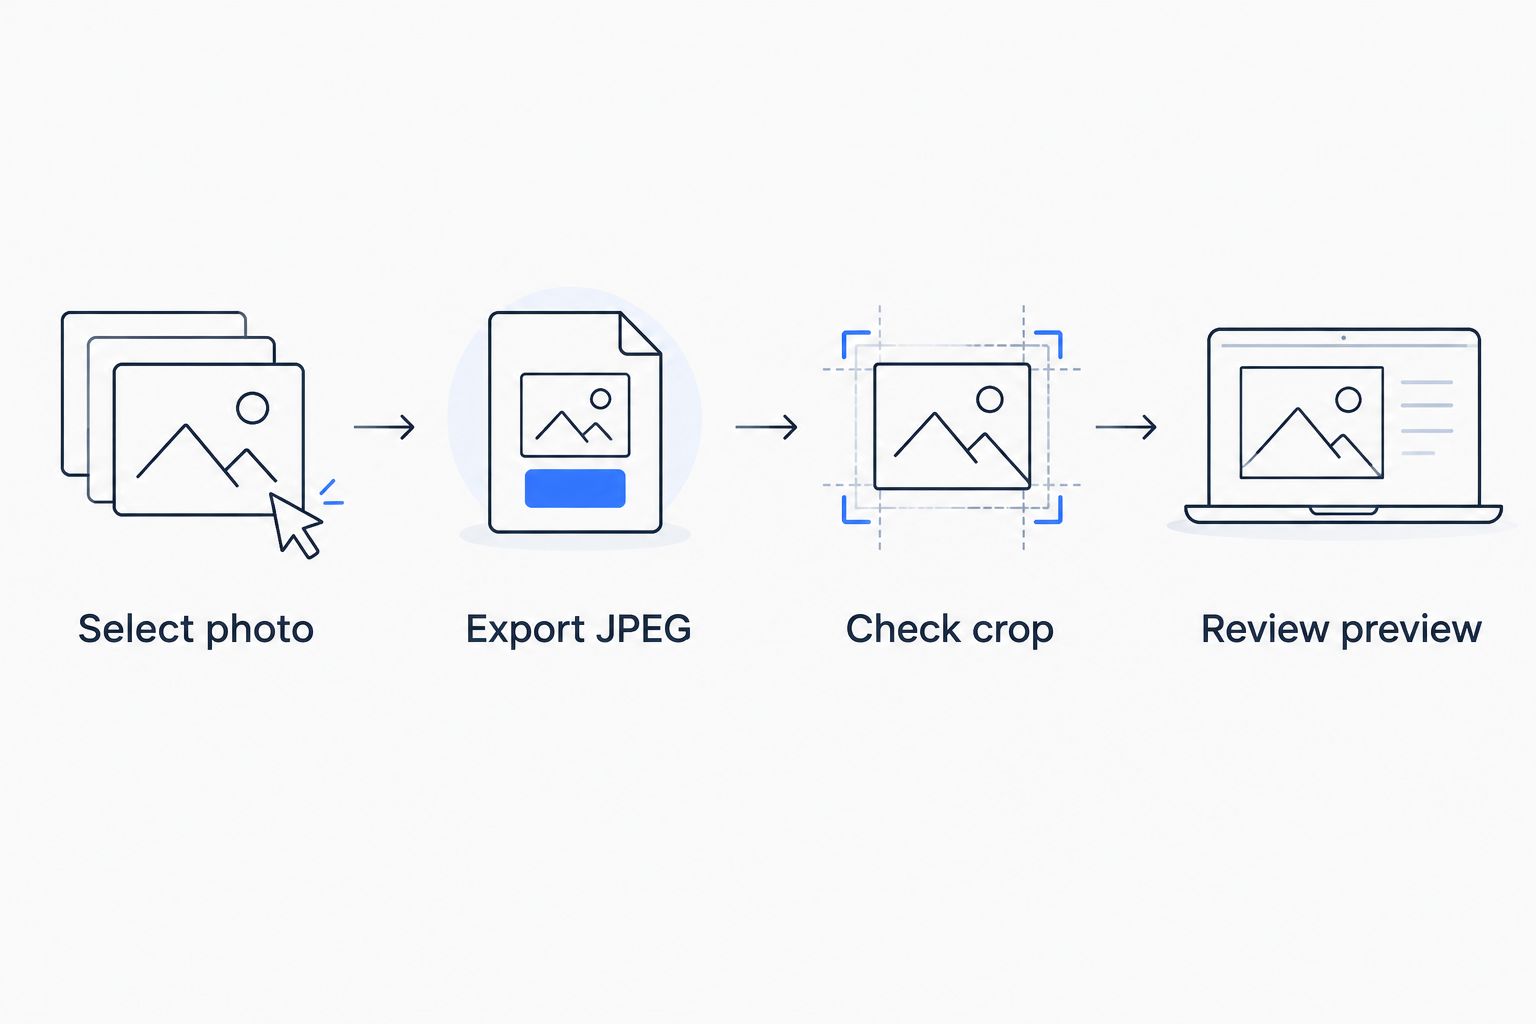
Check the exported file before you begin arranging it on a canvas.
Check pixels, not just file size
Image dimensions tell you more about enlargement than the number of megabytes. A heavily compressed picture and a lightly compressed picture can have identical pixel dimensions but different file sizes.
As a worked example, a 2,400 × 3,000-pixel image printed at 8 × 10 inches provides 300 pixels per inch. The same file at 16 × 20 inches provides 150 pixels per inch. Those figures describe pixel density, not a guarantee of sharpness or a minimum requirement for Pixaprints canvas printing.
Cropping also removes pixels. If you cut away a large part of the photograph to isolate a face, assess the remaining image rather than relying on the original dimensions. Increasing an export's dimensions does not restore missing photographic detail.
Canvas layout and upload
Move to the printing stage only after the exported file passes your checks. The next steps describe what to do without assuming particular editor buttons or unverified file limits.
- Open the canvas option you intend to order and check its current upload guidance. Confirm that your exported file meets the stated requirements before starting the design.
- Choose the canvas dimensions and orientation that suit your wall. Match the shape to the photograph where possible rather than forcing a wide group portrait into a narrow upright space.
- Use the page's upload control to select your exported JPEG. Choose the file from the folder you just created, not an older version from your downloads.
- Position the photograph in the canvas layout. Keep faces, lettering and other essential details away from any area shown as a wrapped side or trimming zone.
- Review the whole preview, including the sides where shown. Read any image-quality warning and change the file, crop or selected dimensions before continuing.
- Check the order summary against your intended size, orientation and picture. Confirm that the uploaded image is the final version, especially if you have tested several alternatives.
Expected result: Your canvas design uses the correct file, preserves the important details and matches the size and orientation you intended.
Pixaprints canvas printing suits UK consumers turning personal photos into wall art. The practical trade-off is that uploading a personal picture still requires you to judge its sharpness and framing; a printing workflow cannot recover a blurred expression.
Make the crop work for the photograph
A landscape picture and a square canvas have different proportions. Filling the square means losing some image at the sides, unless the design provides another way to accommodate the photograph.
Treat the preview as a composition decision, not a formality. Look for a comfortable gap above heads, intact hands and enough space around a pet's ears. If the subject feels squeezed, choose a different shape or return to a wider photograph.
Do not assume the entire uploaded image will appear on the front face. Where the preview shows image wrapping, check what moves onto the sides. A date, signature or face placed near the edge needs particular attention.
Browser alternative: download from iCloud Photos
Use this alternative in 2026 when you are working on a computer without your library set up in the Mac Photos app. It still ends with a local-file check and the same canvas review.
- Open Apple's iCloud website in your browser and sign in to your Apple Account. Complete verification if prompted, then open Photos.
- Find and select the photograph you want. Open it to confirm that it is the correct frame, especially when your library contains similar pictures.
- Use the download control and inspect the available download options. Choose a full-resolution download rather than making a screenshot of the browser view.
- If you choose Unmodified Originals, remember that this retrieves the source version rather than your Photos edits. Use a downloaded version that matches the appearance you intend to print.
- Open the saved file on your computer. If it arrived inside an archive, extract it first; then check the image format, dimensions, orientation and visible edits.
- Continue with the canvas layout and upload steps above. If the file format is not accepted, export a supported format through a photo application rather than renaming the extension.
Expected result: You have a usable local photograph without setting up the Mac Photos library on that computer.
Avoid leaving private family images in a shared computer's downloads folder. After finishing, sign out and remove local copies you do not want to leave behind.
Troubleshooting
The exported photo looks different from my edit
Check whether you downloaded an unmodified original. Return to Photos and export the edited picture as a JPEG, then open that file before uploading it again.
If the difference is brightness rather than missing edits, compare the same file in consistent lighting. A backlit screen and a physical print do not display light in the same way; avoid making drastic adjustments based on one screen view.
The upload rejects my file
Check the current format and file-size requirements on the upload page. If the image is HEIC, RAW or part of a downloaded archive, create a supported still-image export or extract the archive first.
Changing a filename from one extension to another does not convert the image. Open it in a photo application and use an actual export or conversion command.
The preview cuts off someone's head
The canvas proportions differ from the photograph, or an important detail sits inside the wrapped area. Reposition the image, choose a better-fitting orientation or return to a wider frame.
Do not solve the problem by repeatedly zooming in. Zooming fills the space by removing more of the picture.
The editor flags low image quality
Confirm that you uploaded the full-size export rather than a screenshot or messaging copy. If the warning remains, reduce the selected canvas dimensions or use a sharper, higher-resolution photograph.
A larger file created by artificial enlargement is not proof of extra detail. Judge the actual subject as well as the warning.
The browser download will not finish
Check your connection and available storage, then retry with the single photograph rather than a large selection. If Photos cannot retrieve the image either, resolve the iCloud download issue before restarting the print design.
Customise your workflow
For another canvas in 2026, repeat the same hand-off: select, export, inspect and upload. Keep the original, the printing JPEG and any later revision clearly separated so you do not accidentally order an earlier edit.
For a gift, check whether the recipient would prefer the whole scene or a closer portrait. Make that choice before exporting a tight crop. You can always remove space later, but you cannot recover the edges from an already cropped file.
When preparing several pictures for one wall, compare their brightness and colour together. Aim for a consistent feel without forcing every memory through the same strong filter.
FAQ
How do I get iCloud Photos to canvas print in 2026?
Download or export the full-size photo, check the local file, then upload it to your chosen canvas design. Review the crop, wrapped edges and image-quality guidance before approving the order.
Should I use JPEG or an unmodified original for my canvas?
Use an exported JPEG when you want the visible edits made in Photos. An unmodified original preserves the source file but does not include those edits.
Can I use an iCloud photo without a Mac?
Yes, you can download a photograph through iCloud Photos in a browser. Open the downloaded file and check its format, dimensions and appearance before uploading it for printing.
Is a screenshot good enough for a canvas print?
Use the full-size photograph instead of a screenshot. A screenshot records the displayed view rather than retrieving the source image and can leave you with fewer useful pixels.
Can I turn a Live Photo into a canvas?
Yes, a canvas uses a still image from the Live Photo. Choose the frame you want in Photos and inspect the exported still before uploading it.
Why does my canvas preview crop my iCloud photo?
The photograph and canvas have different proportions, or the design uses part of the image around the sides. Adjust the composition or choose a shape that better fits the photograph.
Does Pixaprints automatically sync with iCloud Photos?
This guide uses a manual download and upload, not an automatic sync. Save your chosen photo locally and upload that file when creating your canvas.
One last thing
Before approving a canvas in 2026, look at the preview as though the photograph belonged to someone else. Check the edges first, then the expressions, then the background. Familiarity makes it easy to overlook a cut-off hand or distracting object in a favourite picture.
Keep the original and the final printing file. That small habit makes a future matching canvas much easier to prepare without rebuilding the edit from memory.